
After a week of anticipation, the components for assembling the rack have finally arrived. Gradually, I’ve been able to inspect and piece together each part, transforming the original chaos into a more organized setup.
In this post, I’d like to showcase the visual outcome. The assembly of the rack cabinet itself. However, it’s important to note that this is merely a cosmetic solution for now. The more intriguing aspects, such as automating remote power management, network booting, and KVM functionality, will be explored in future updates.
Let’s dive in!
Netswitch and rack rails out of the box
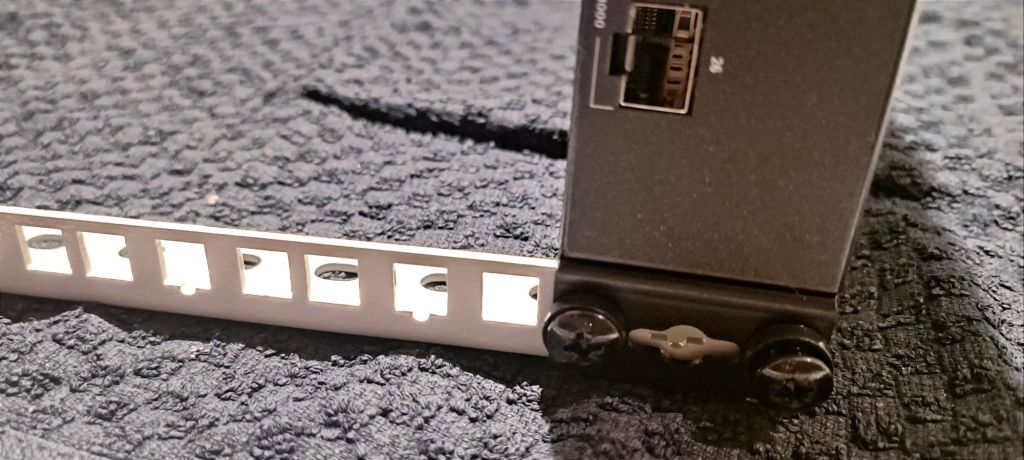
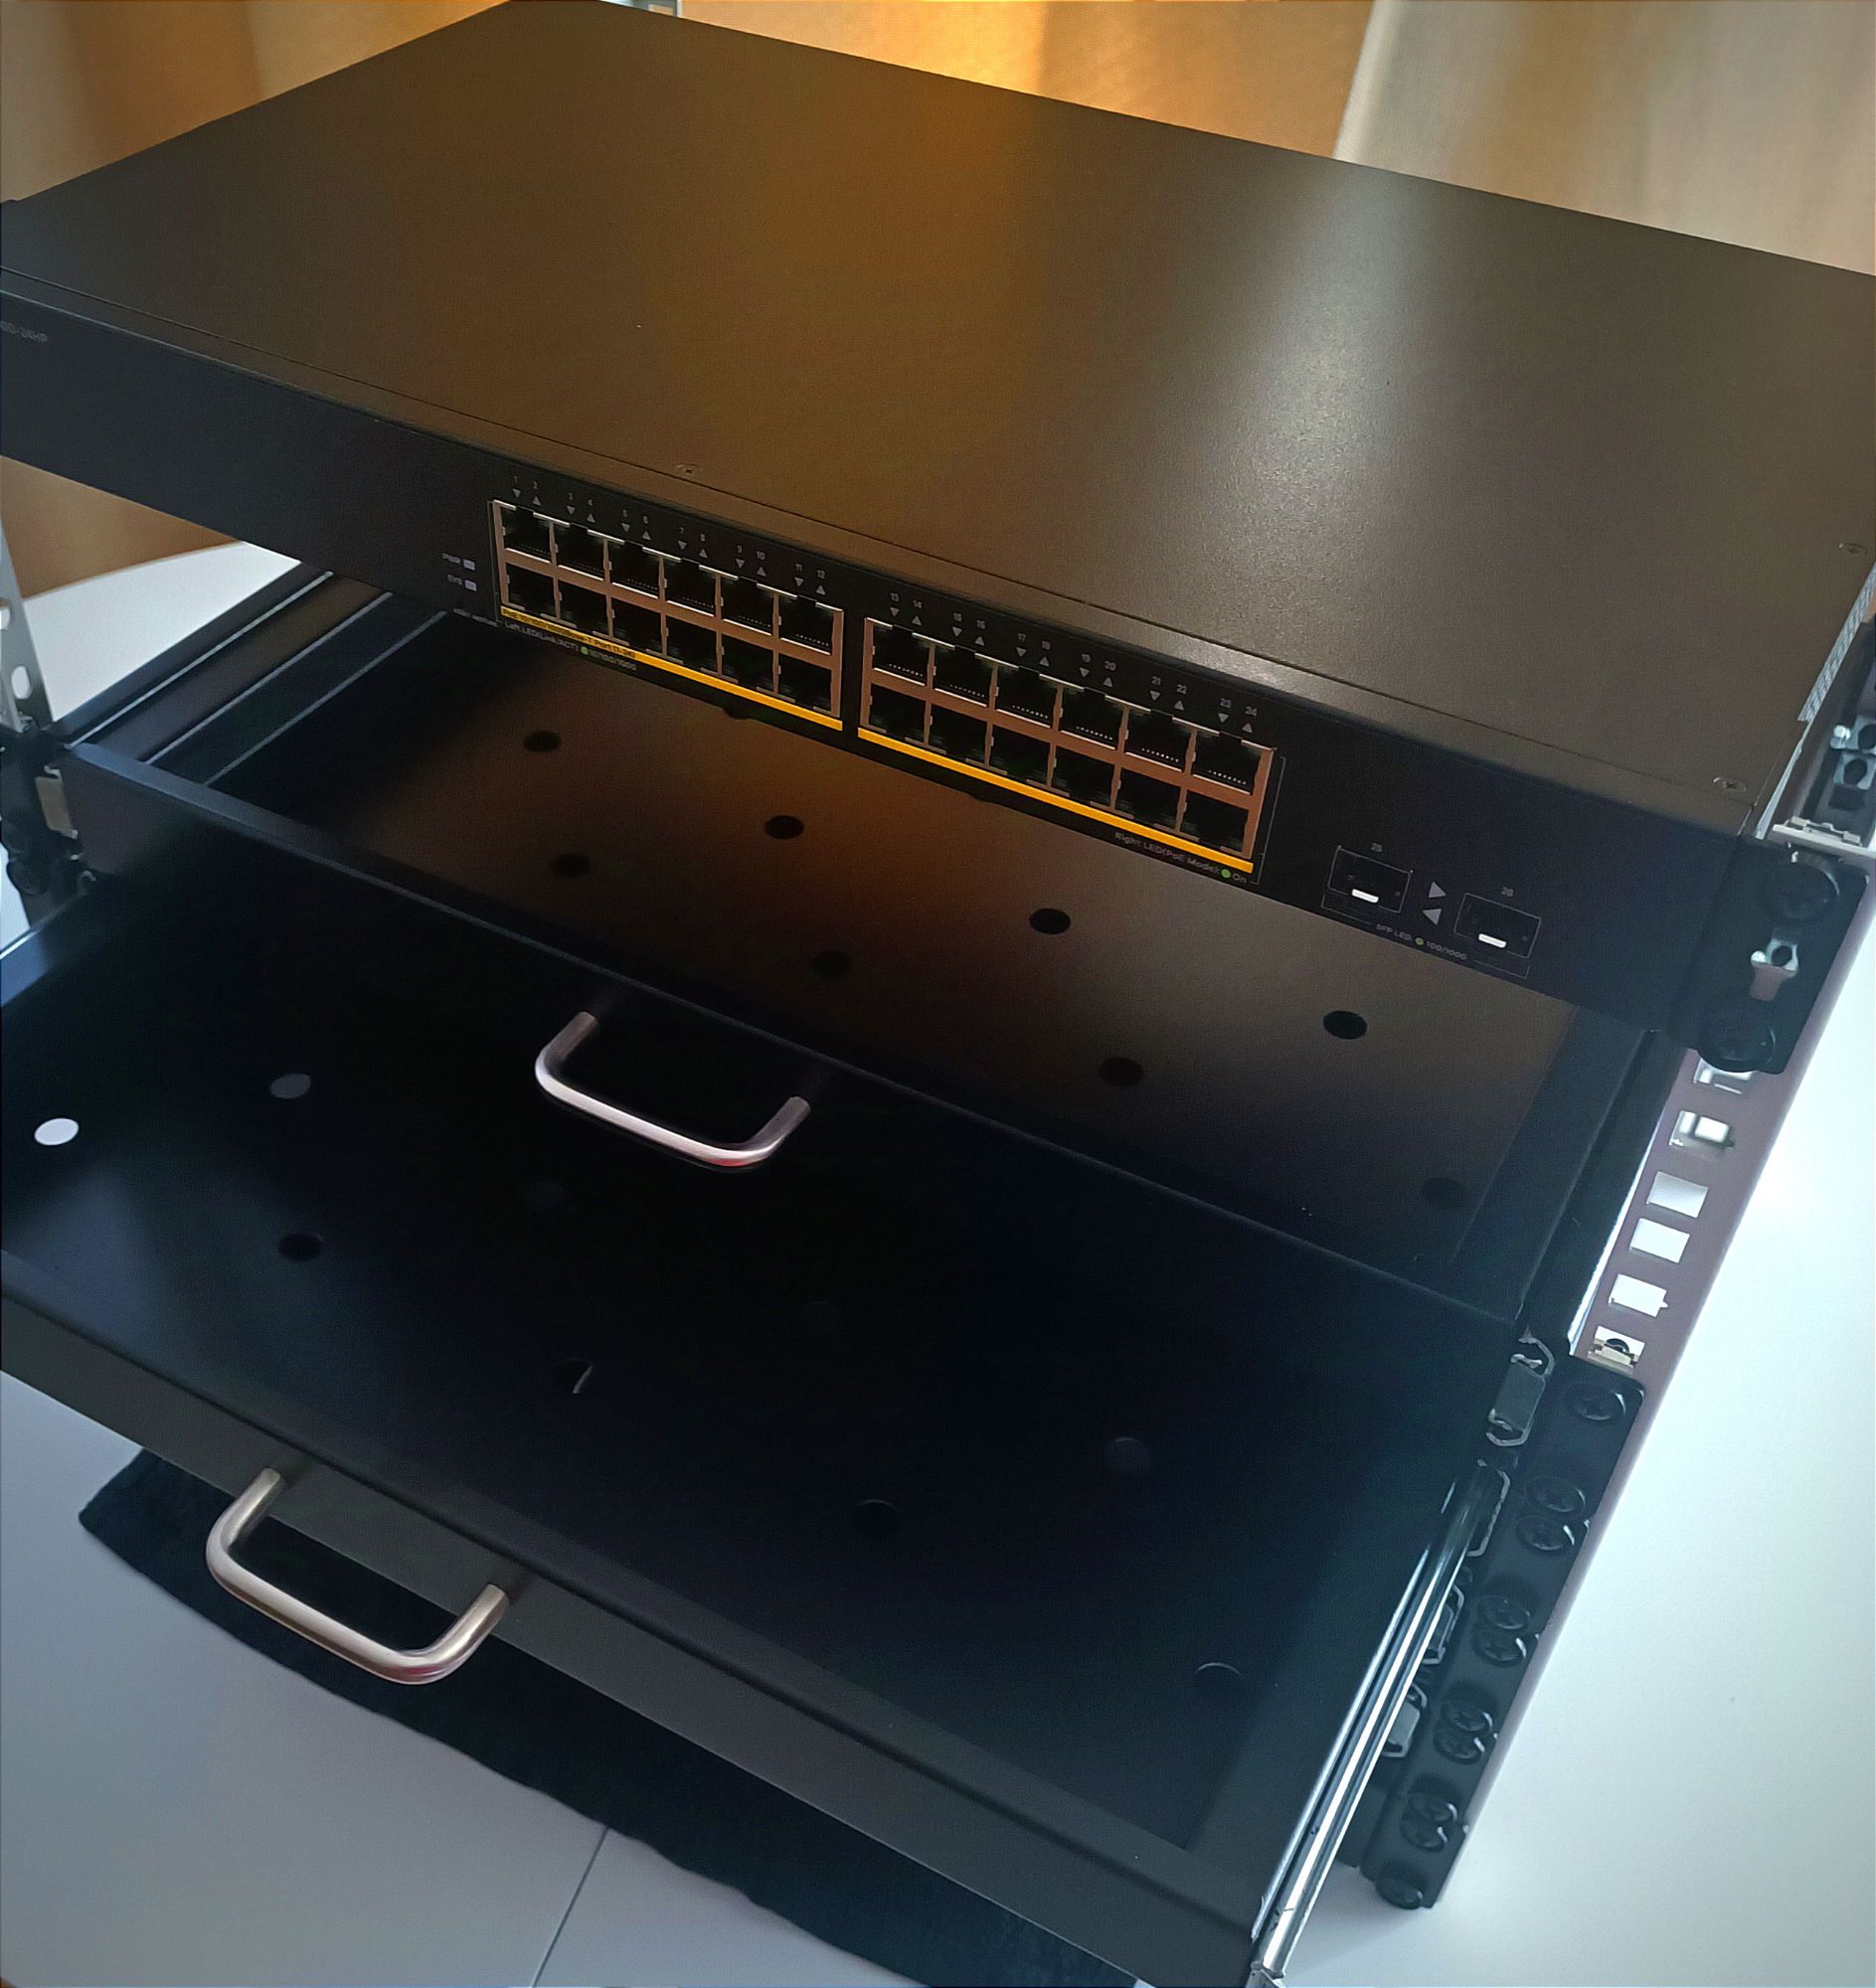
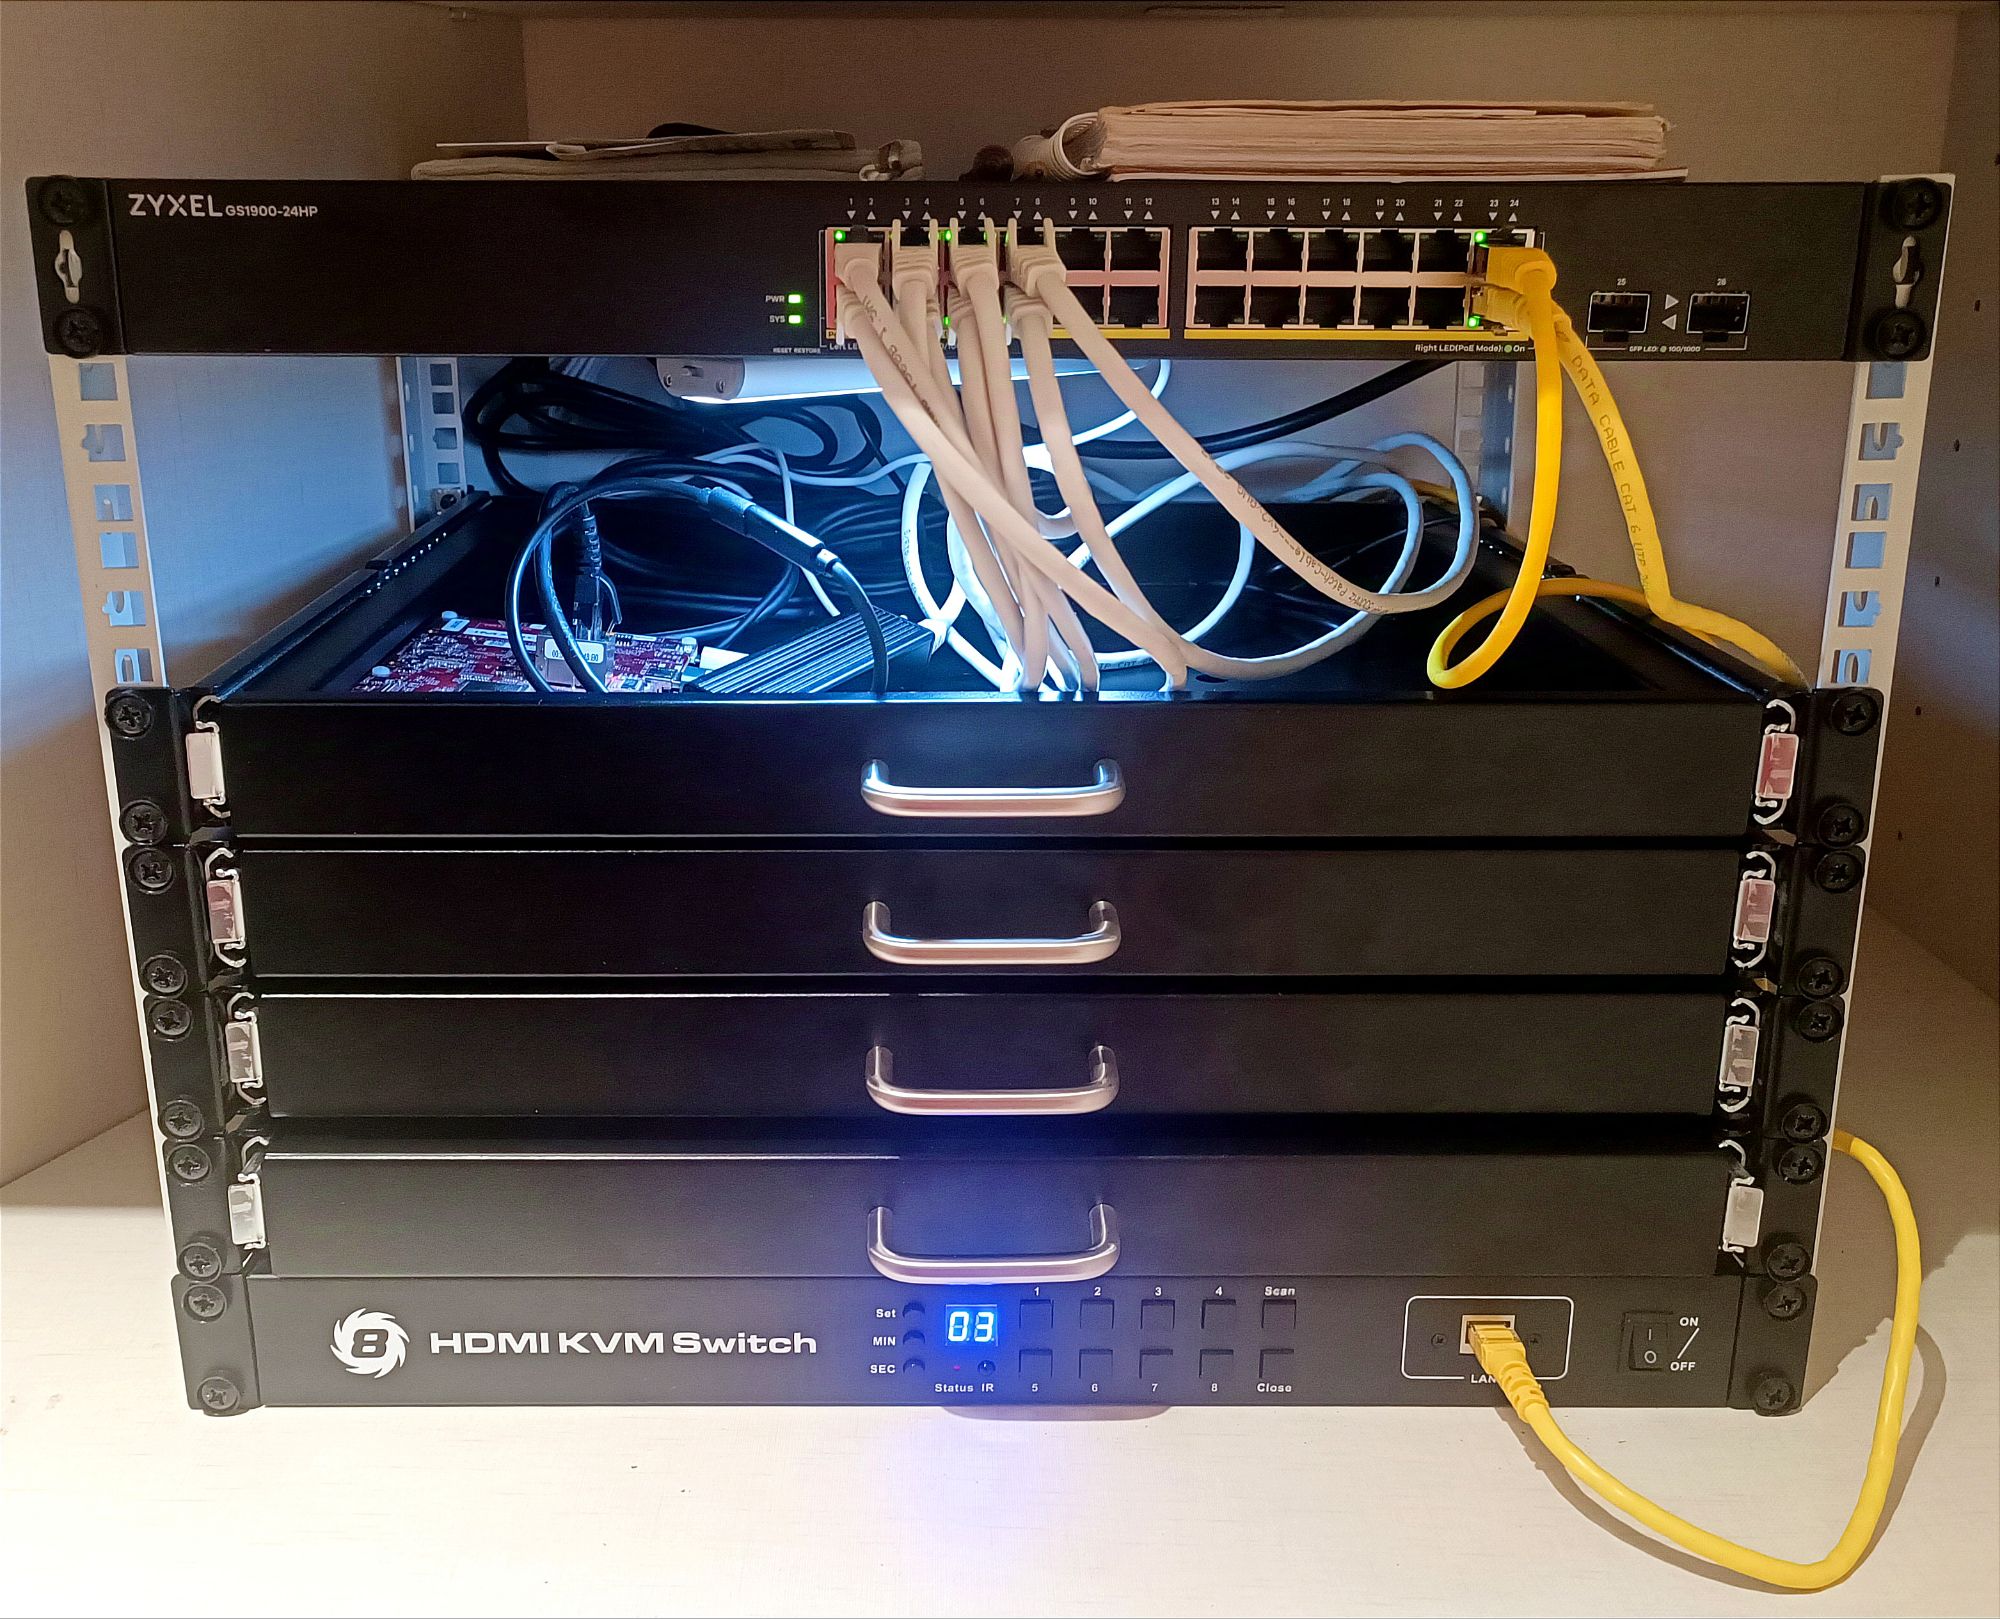
This is how the Zyxel Switch PoE Gigabit GS1900-24HP ethernet switch looks like. The package arrived well-protected, with all necessary rack-mounting hardware included.
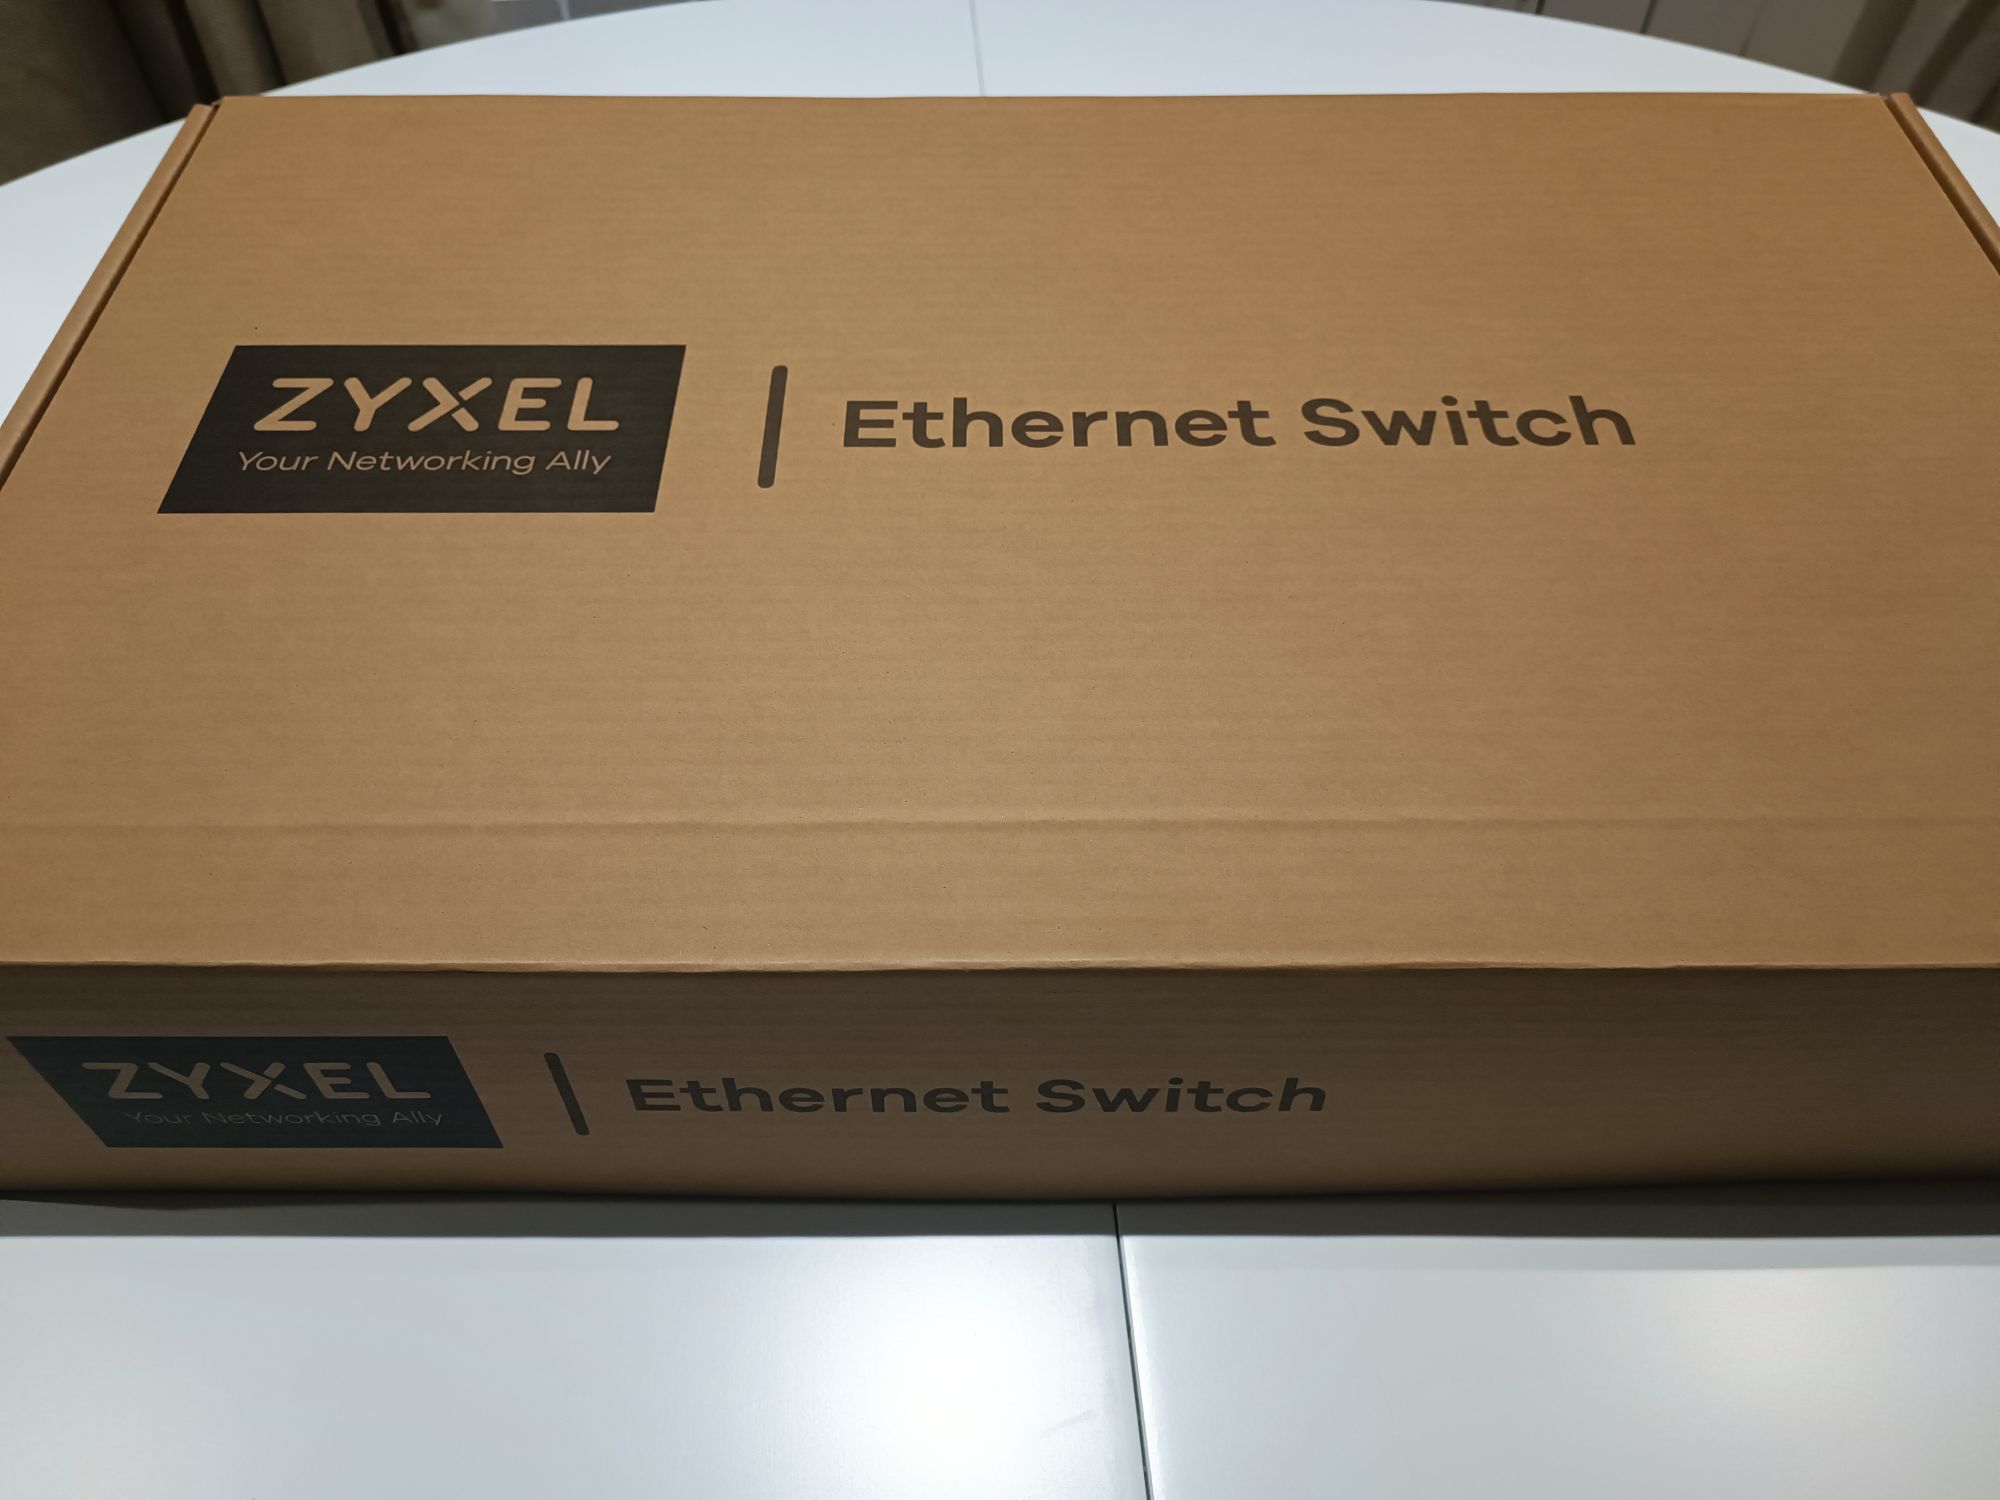


The assembly of the switch was straightforward, guided by a concise instruction sheet that facilitated a quick setup. This particular model lacks serial console but it is ready for obtaining an IP address via DHCP or a static assignment. The Initial access is through a web interface, from which additional access methods, such as SSH, can be enabled.

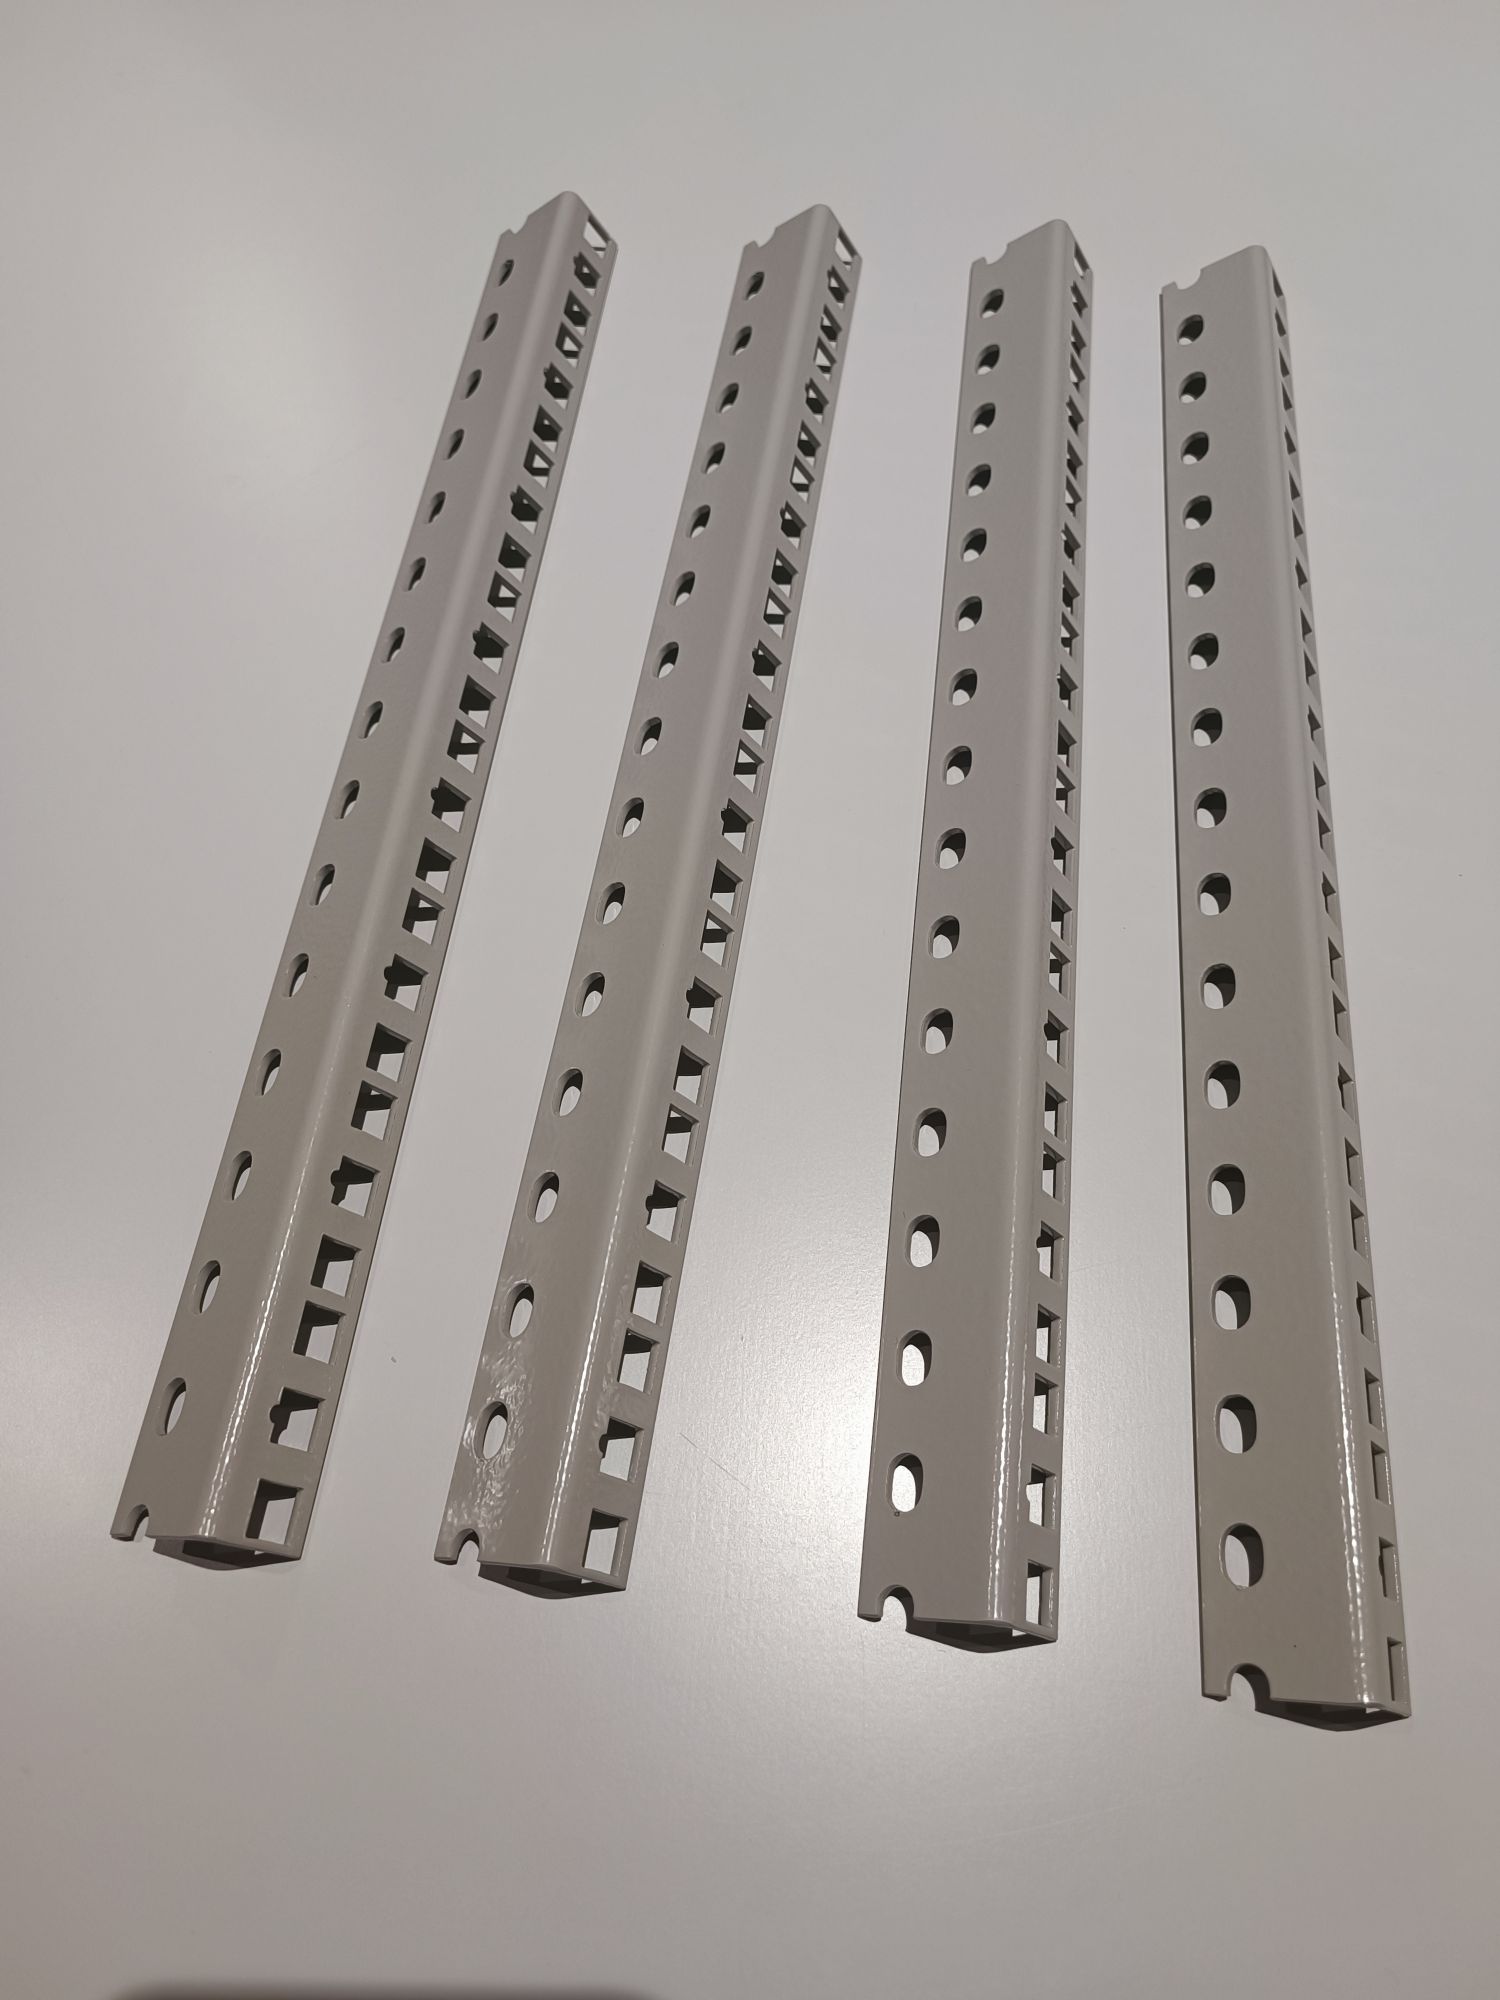
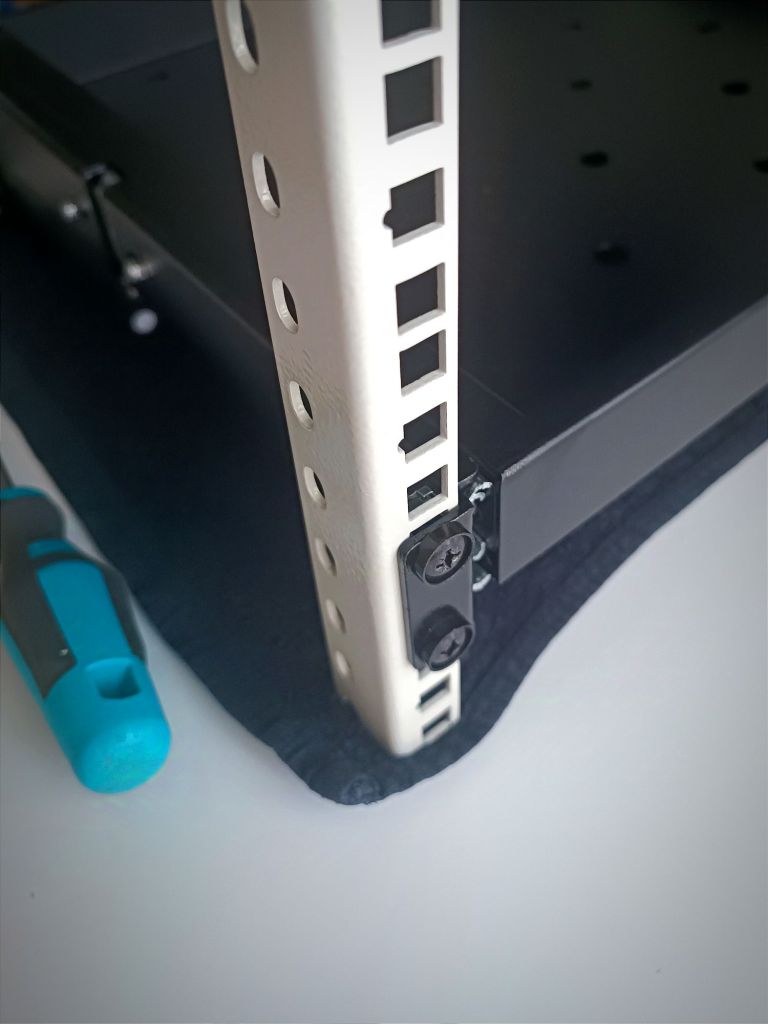
To assemble the rack, I opted for four 8U rack rails. This choice offers a convenient and extremely lightweight solution for rack configuration. The rack rails, along with the components affixed to them, inherently form the rack’s structure in a consistent manner, eliminating the need for a traditional rack cabinet.
This approach not only simplifies the assembly process but also provides flexibility in organizing and managing the embedded boards. By forgoing a bulky cabinet, I can easily access and rearrange components as needed, which is particularly beneficial given the variety of boards I work with.

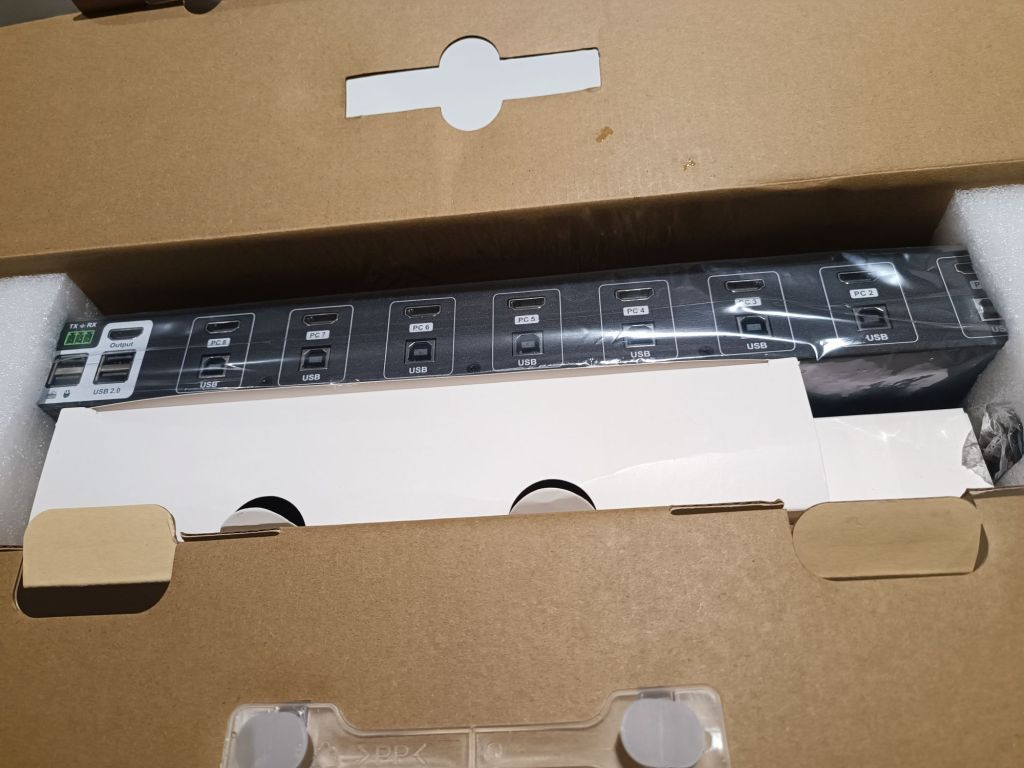
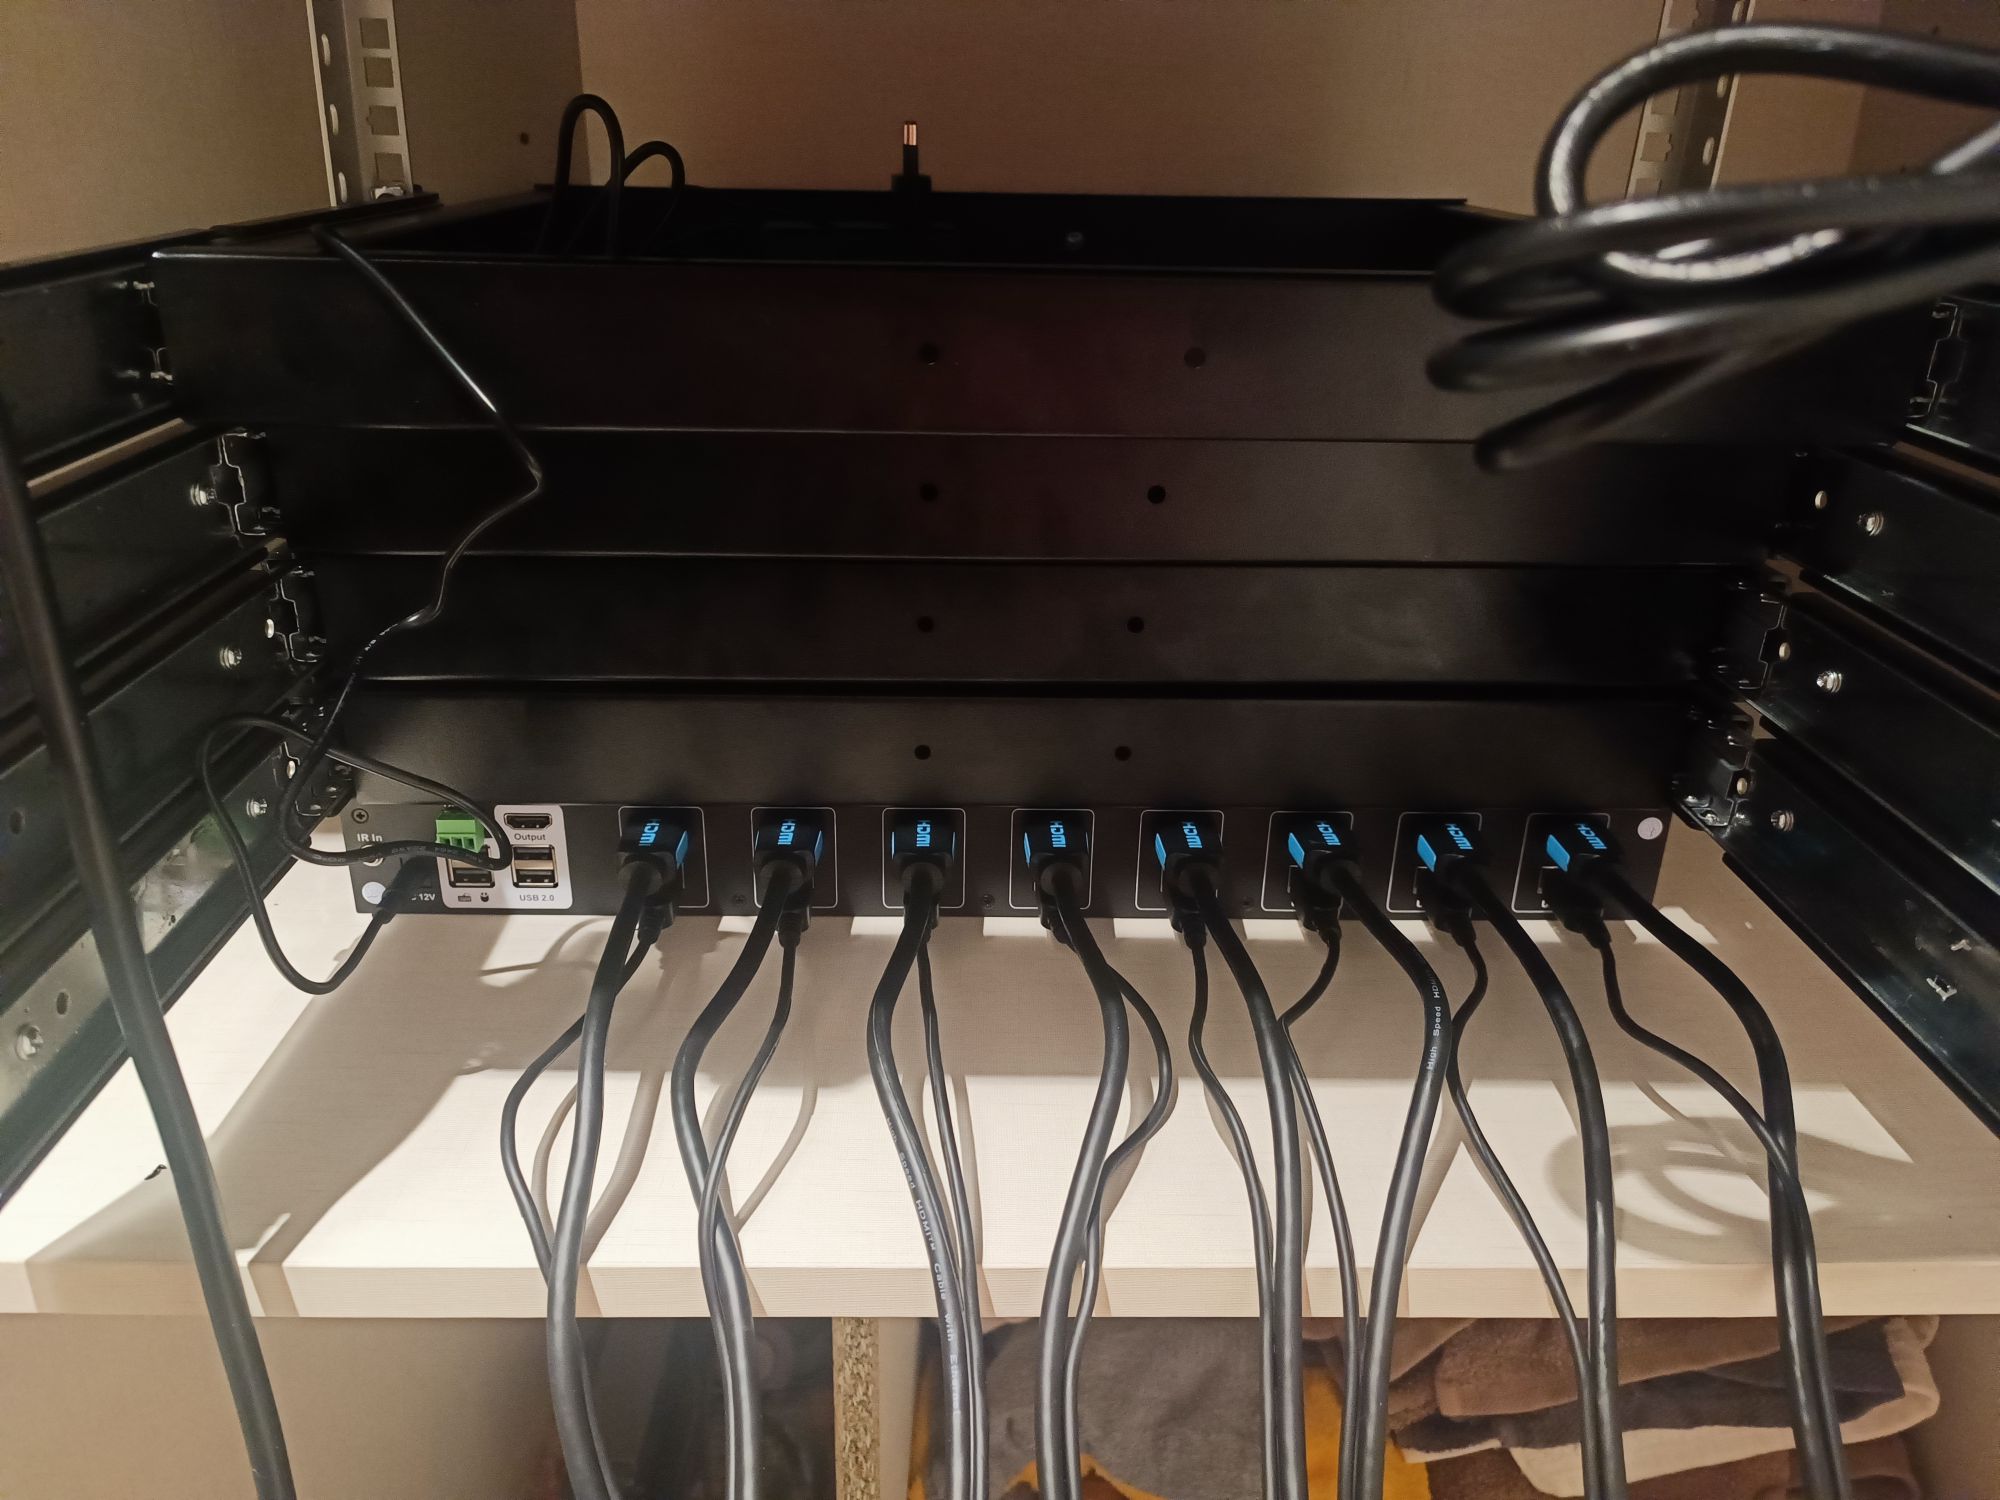
TESmart HDMI KVM 8 ports
The TESmart KVM HDMI 8-Port 4K60Hz HKS801-E23 also arrived in impeccable condition. A particularly commendable inclusion is the set of eight HDMI/USB cables, one for each port, simplifying the setup process and ensuring compatibility without the need for additional purchases. The KVM also contains all necessary rack-mounting hardware included.
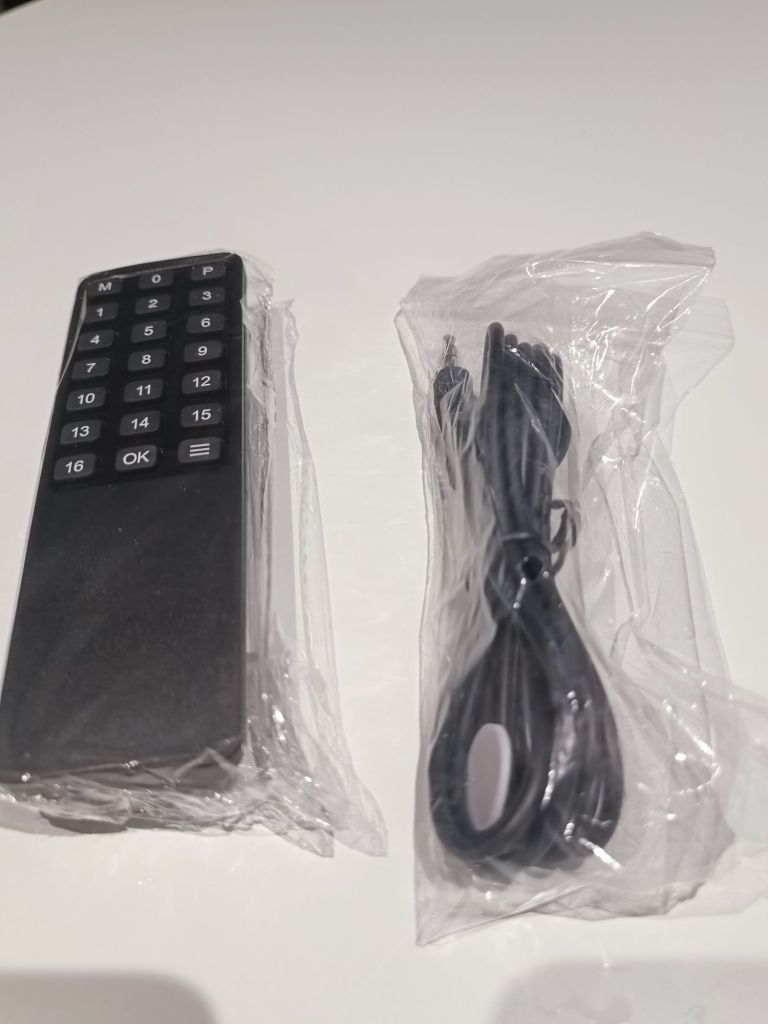

The switch also features an infrared remote control, offering convenient local management. However, my primary interest lies in its network management capabilities. Official support is limited to a Windows application, but the device’s network command API is well-documented in TESmart’s manuals. Leveraging this documentation, I developed a command-line tool now available in Github (tesmartctl). This enables seamless switch control directly from the console.

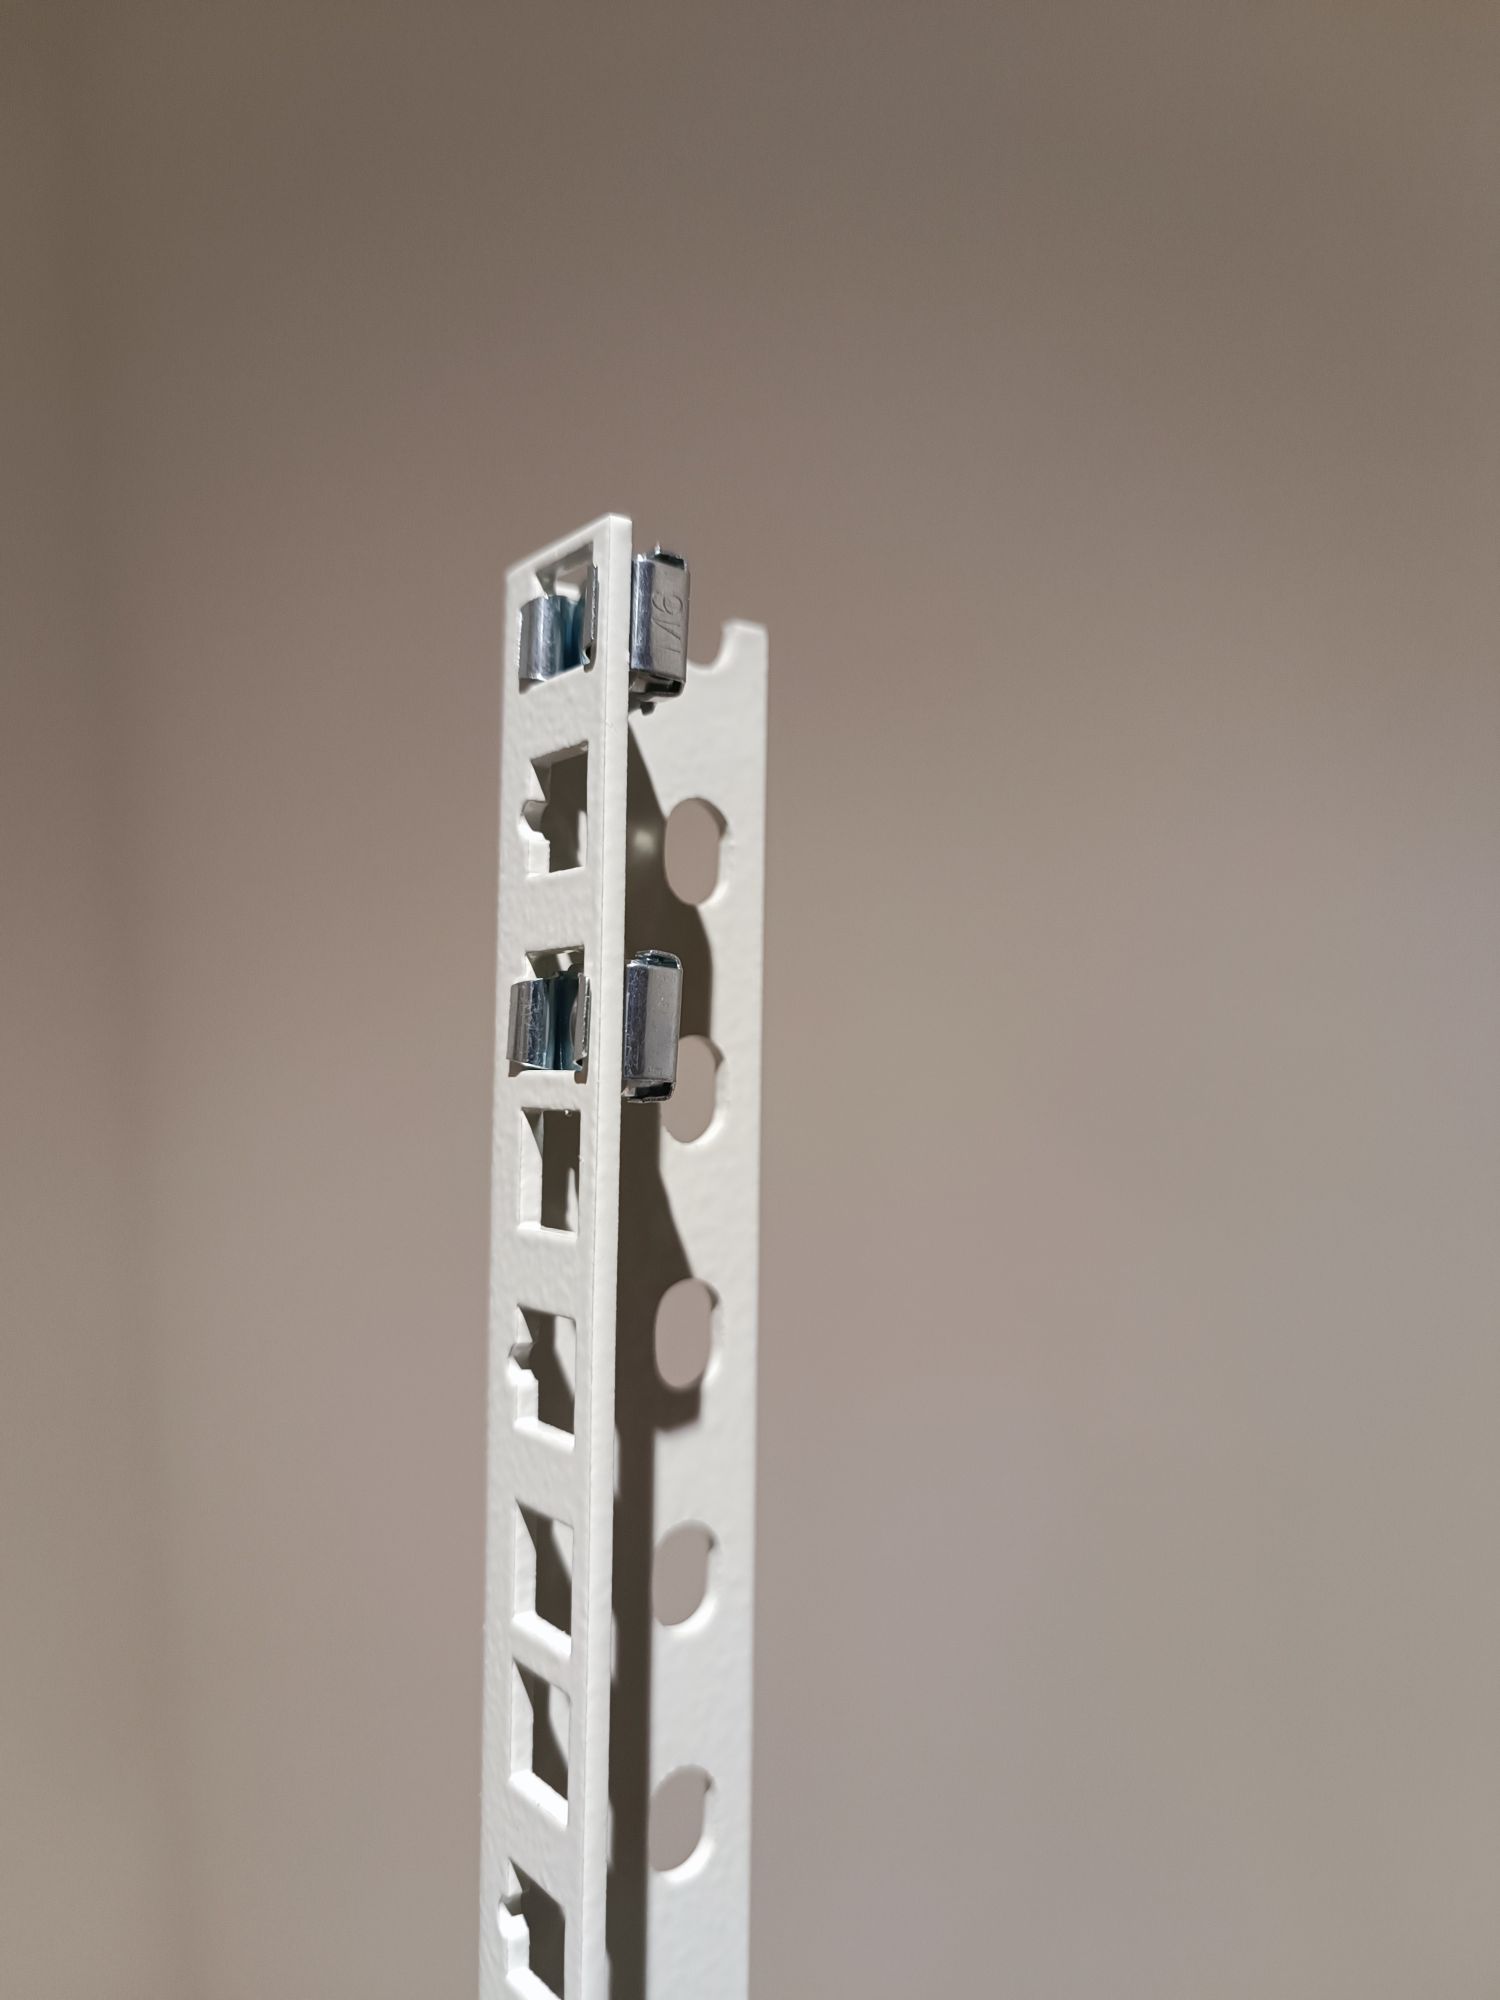
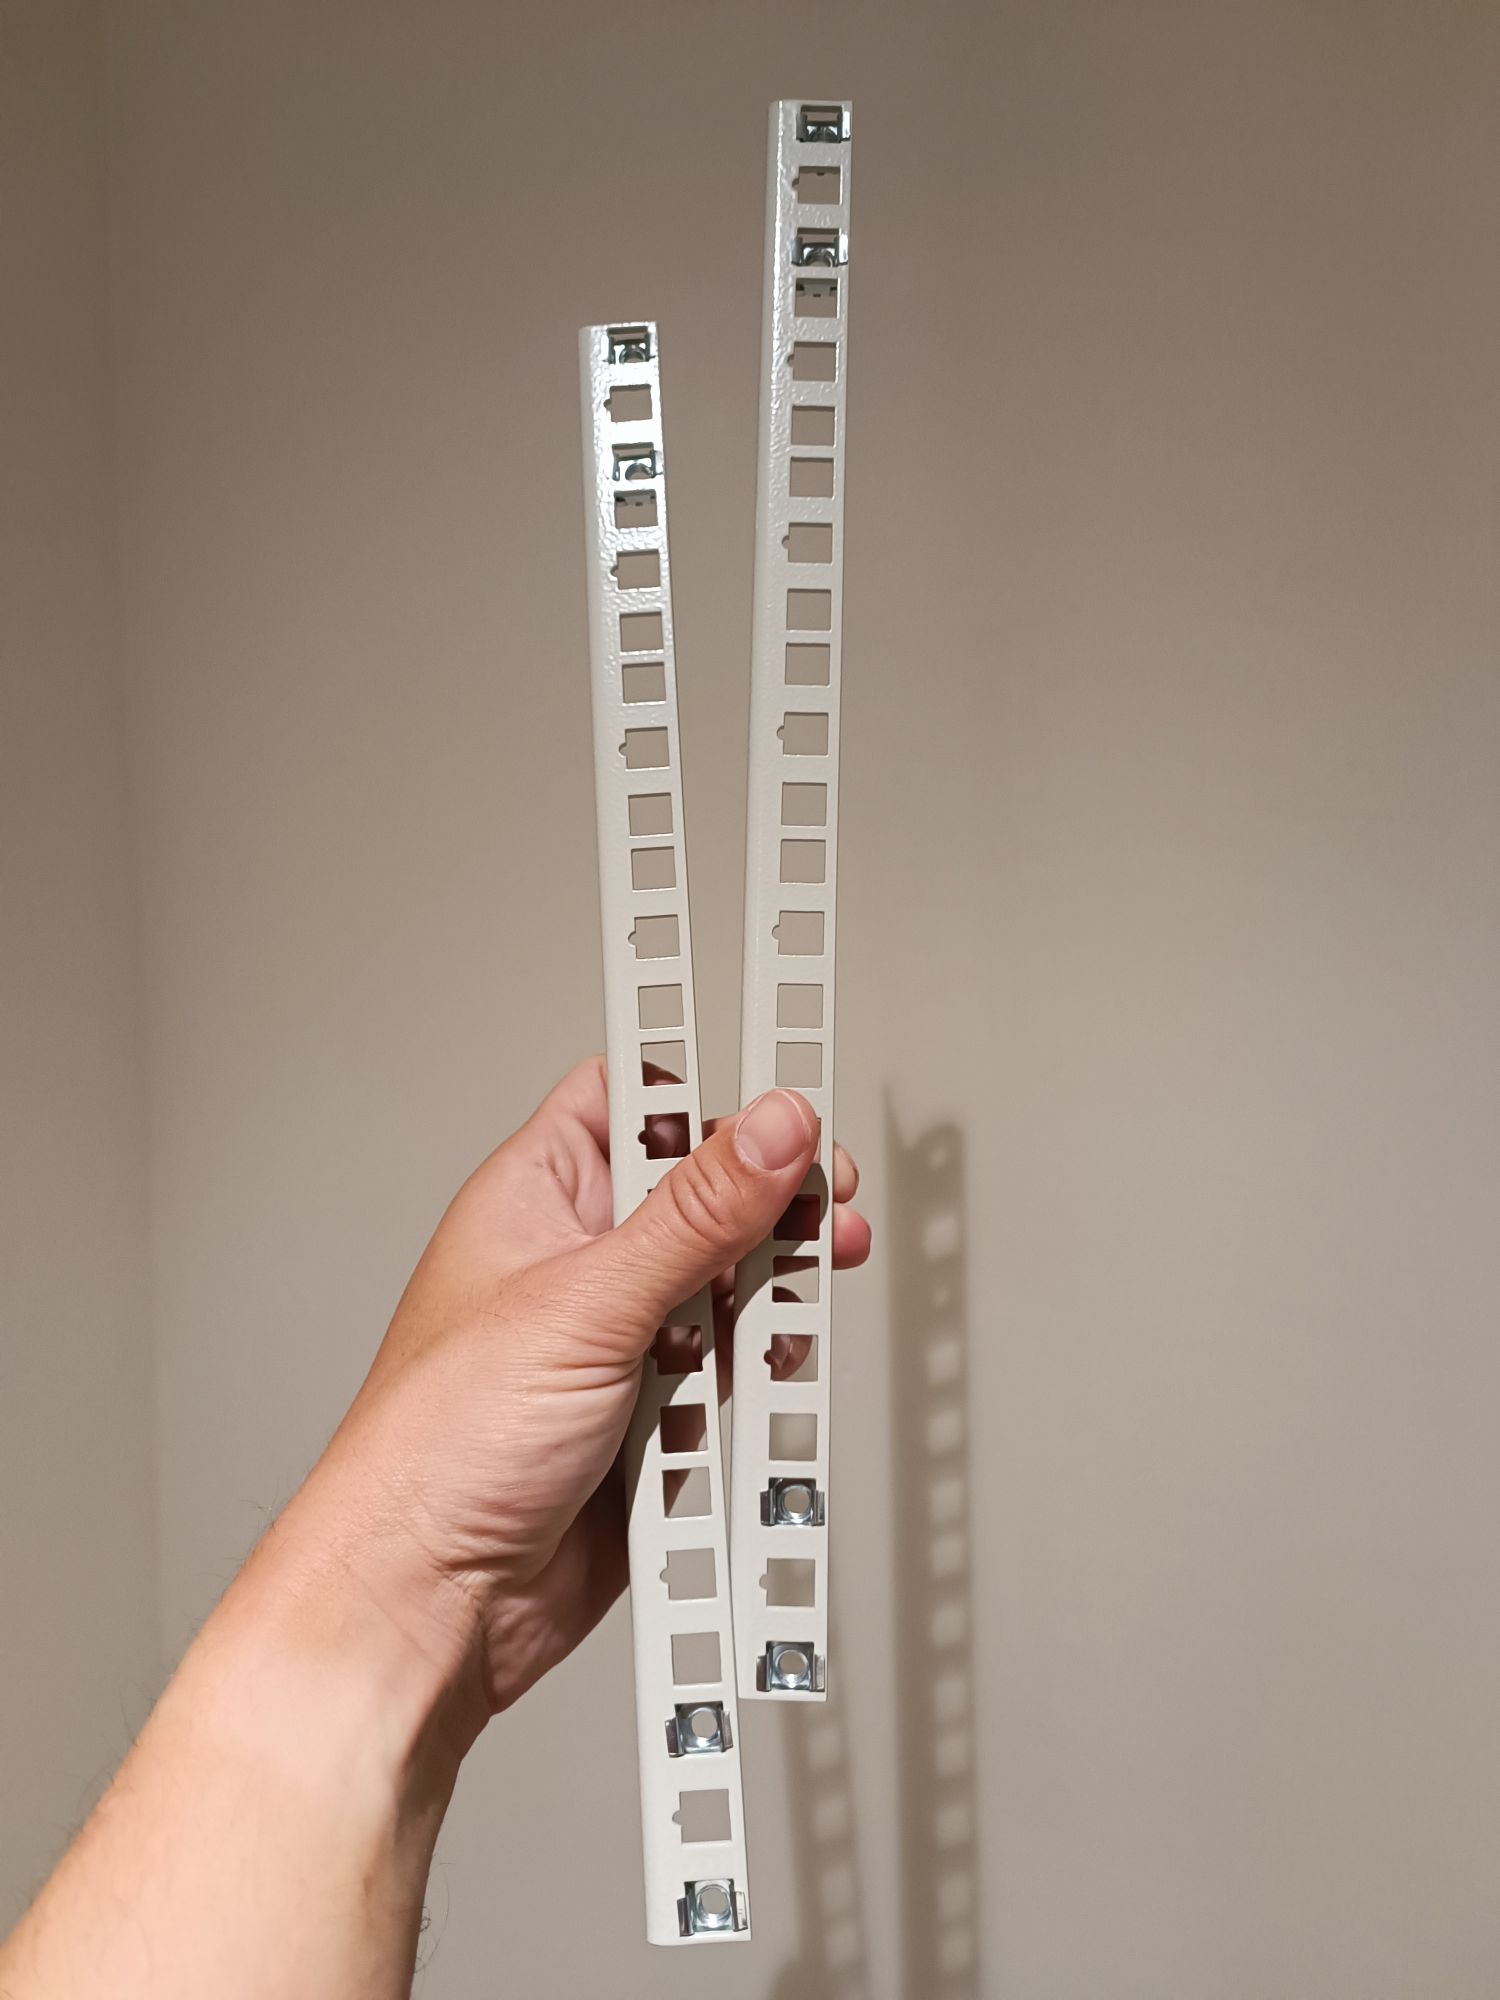
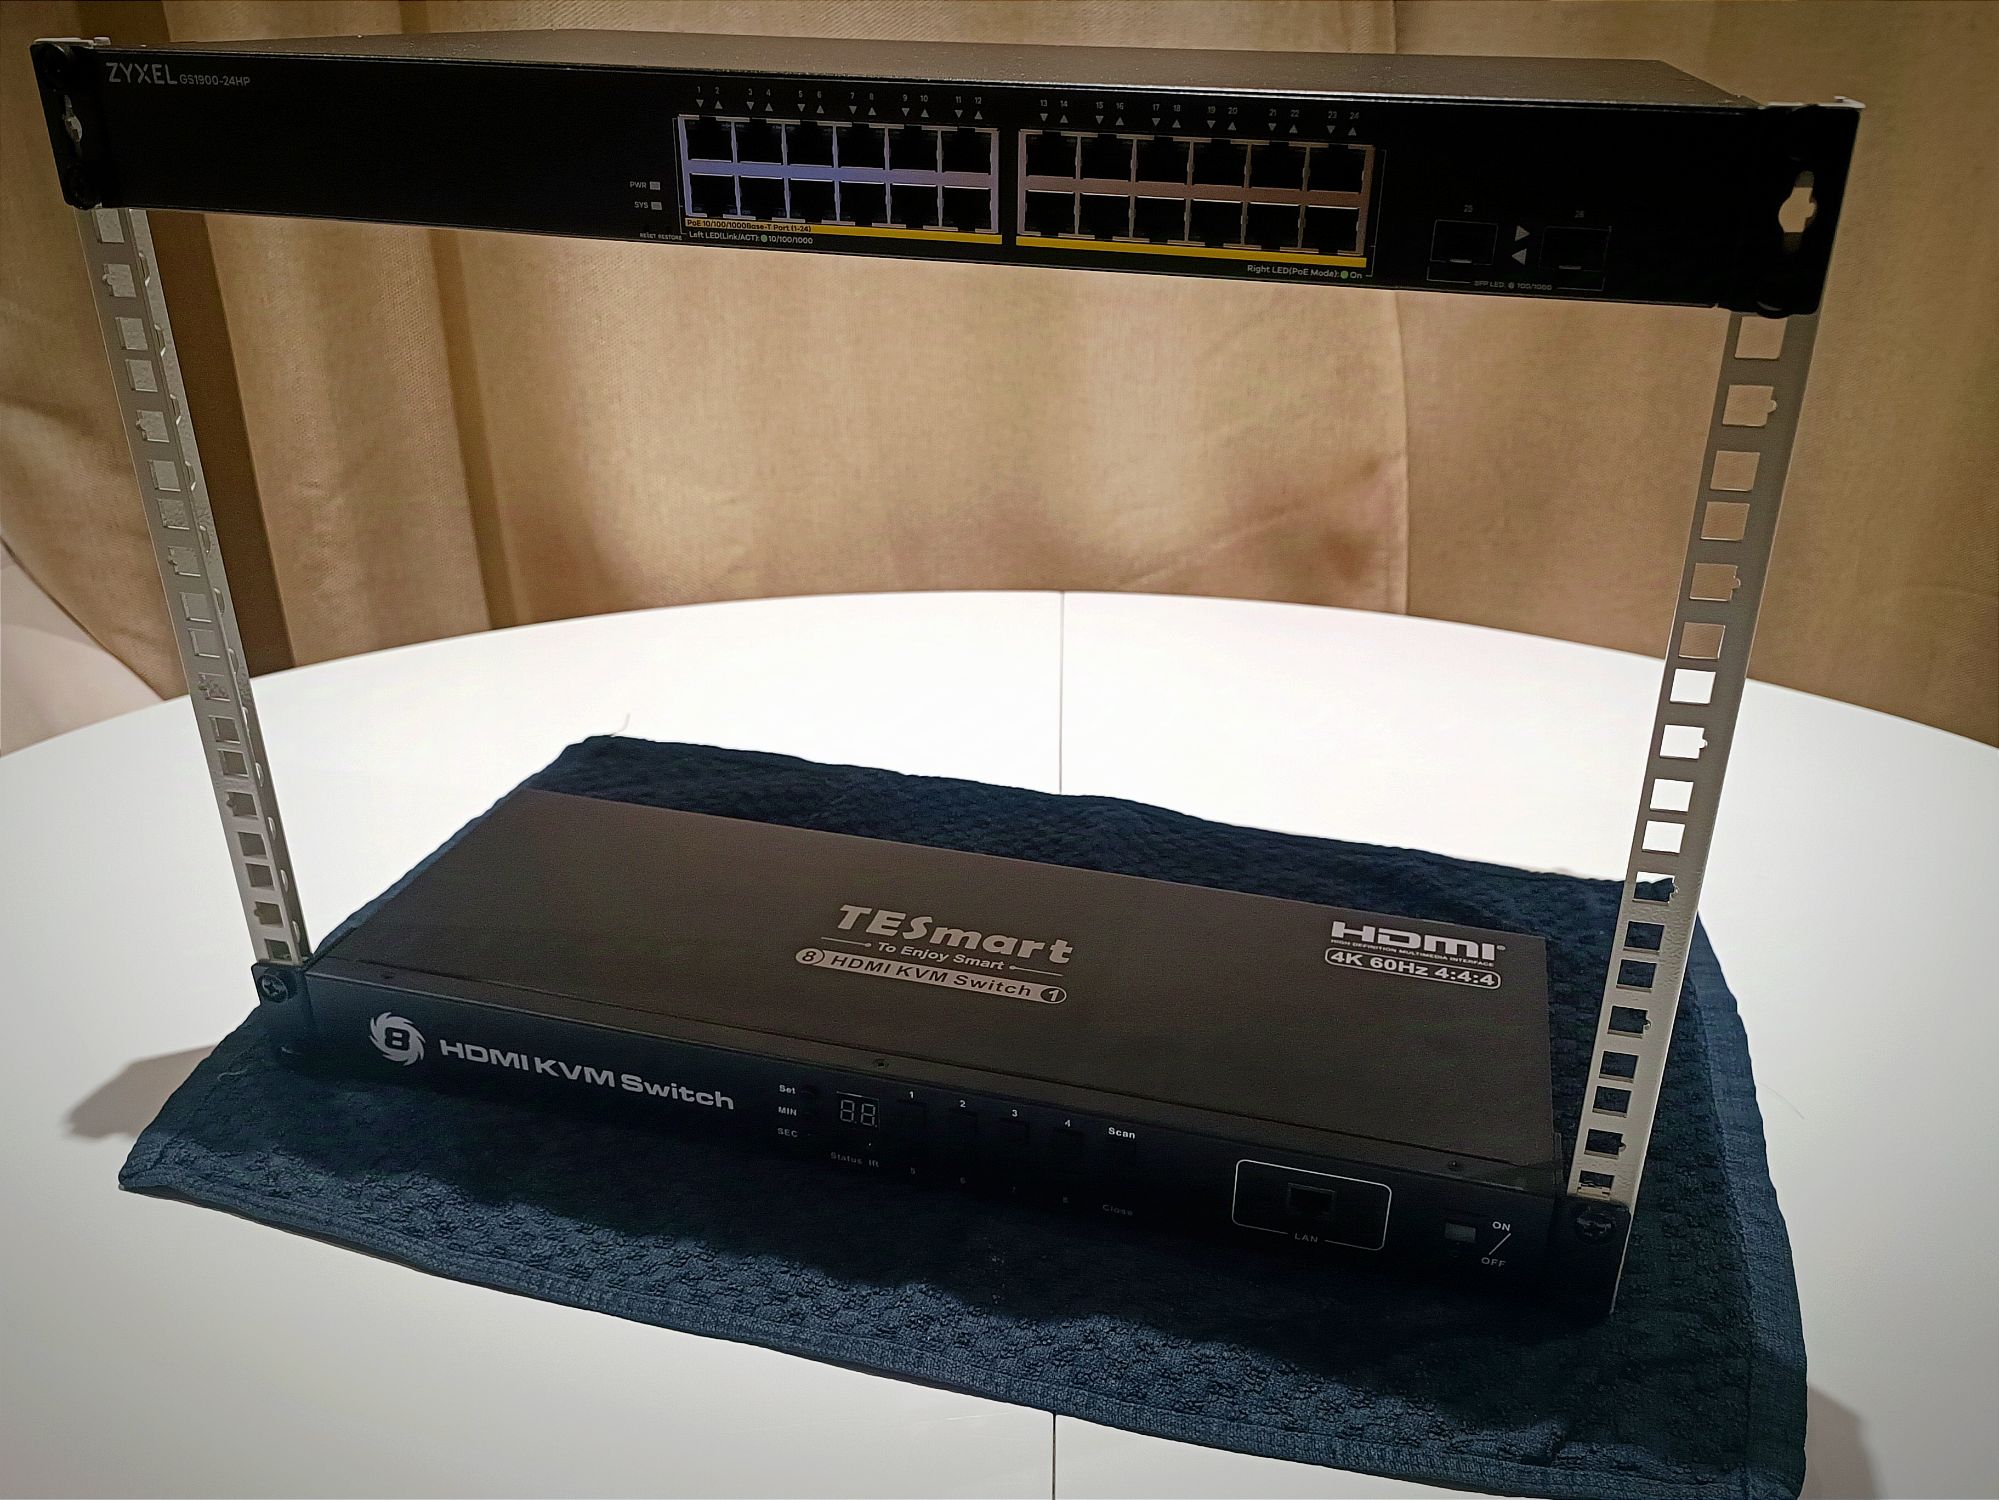
Assembling the rack structure
The rack rails are robust enough to support the vertical form of the structure on their own. We used the KVM and the switch to give volume to the structure. This is how the self-assembled structure is shaping up:


Adding the Removable Trays
It’s now time to incorporate the four Removable Trays I purchased. These trays will be used to organize the boards and computers housed in this rack. They also contribute to the overall consistency of the structure, making the final assembly as solid as a dedicated cabinet.

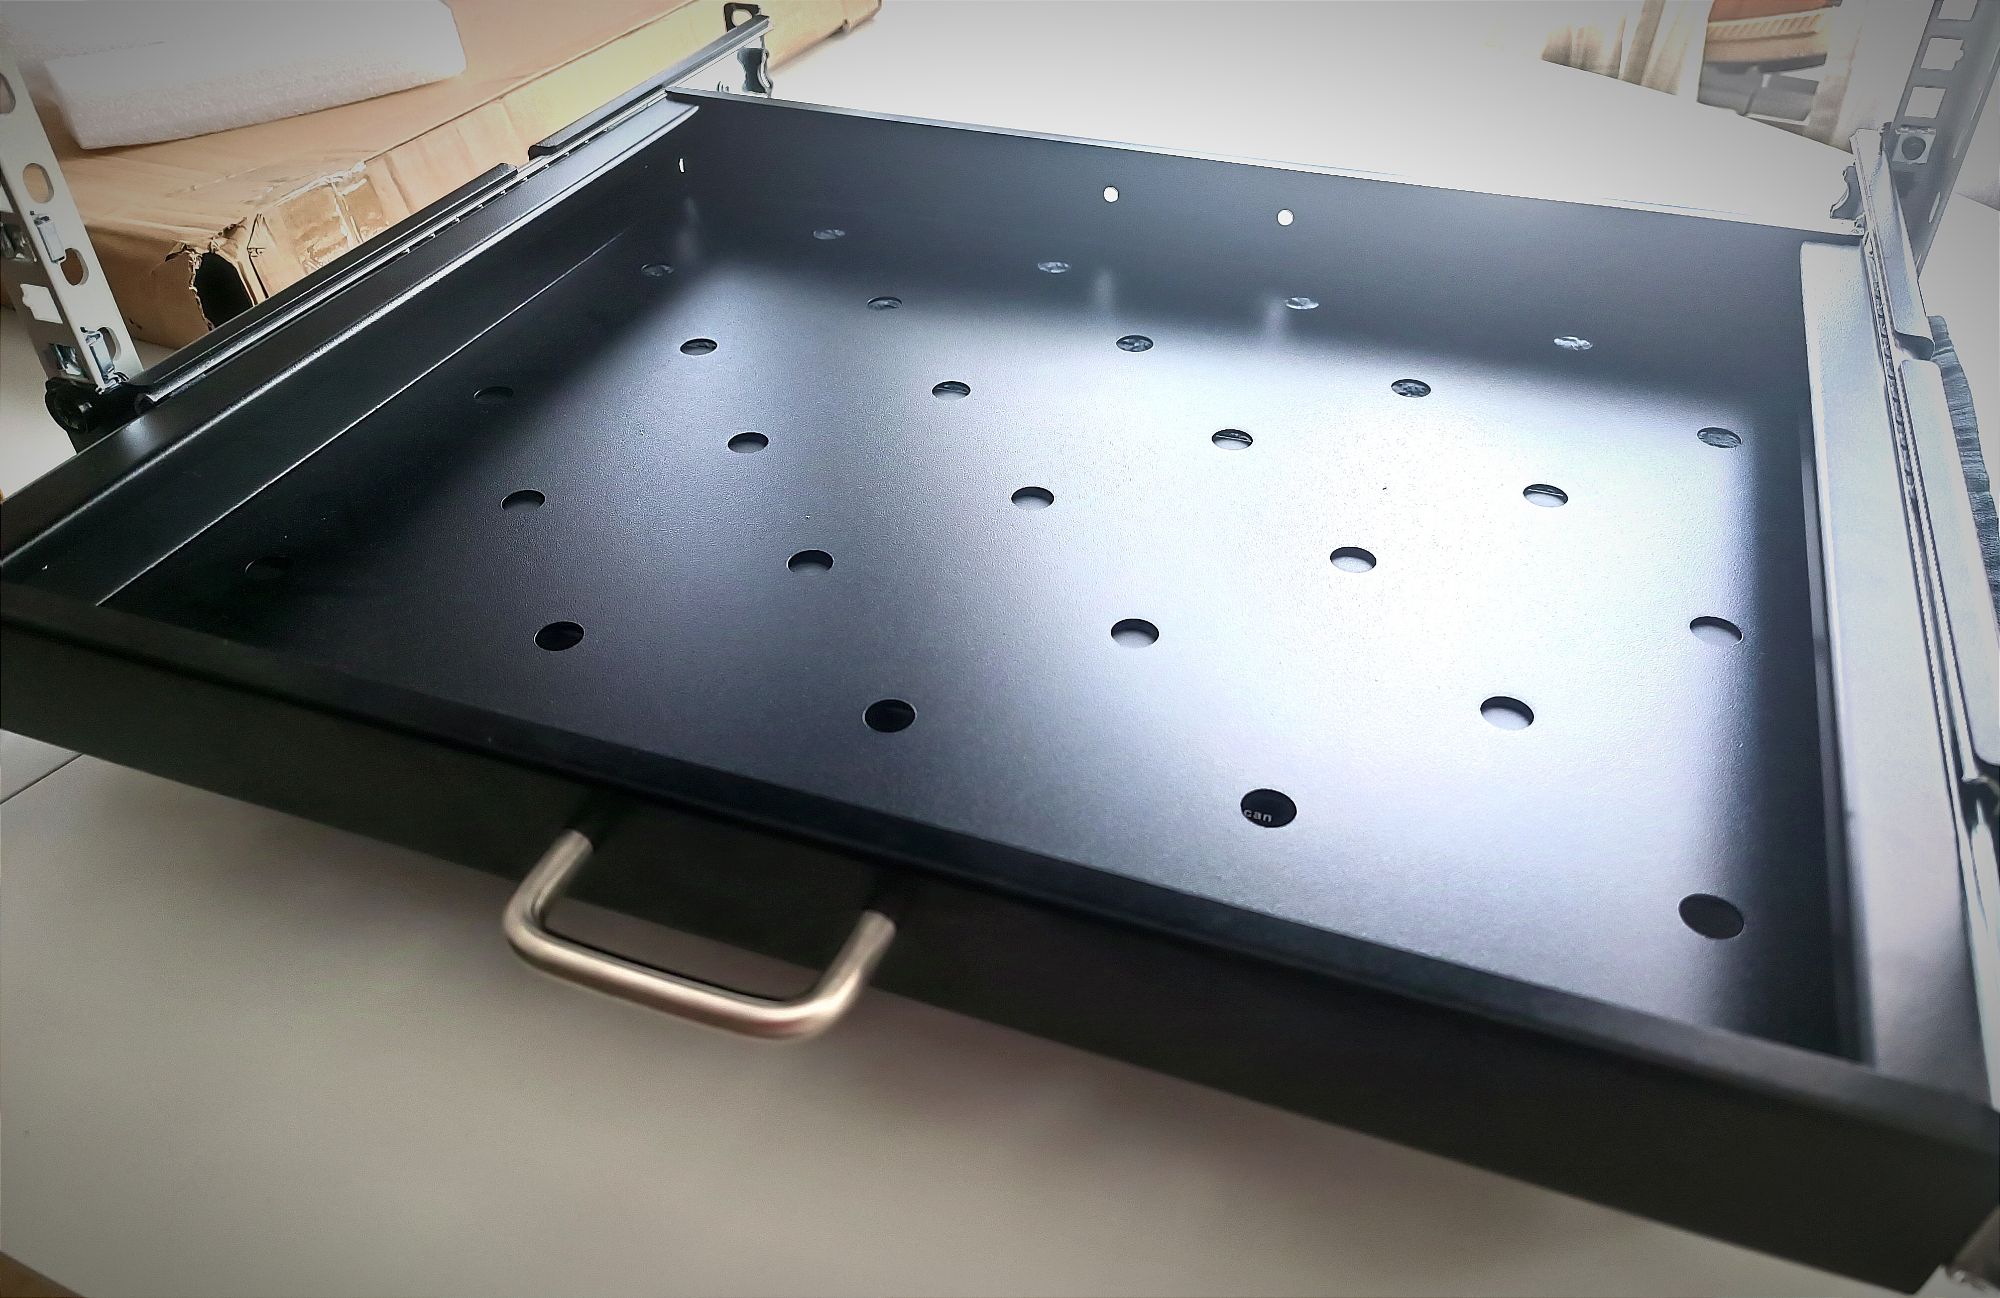

The Removable Trays I bought are quite functional for their price point. However, they have two drawbacks that keep them from being the ideal choice:
- The first issue is that the rail’s travel is too short. The tray doesn’t fully extend, making it frequently necessary to release the safety latches to pull the tray out further and manipulate the equipment housed within it.
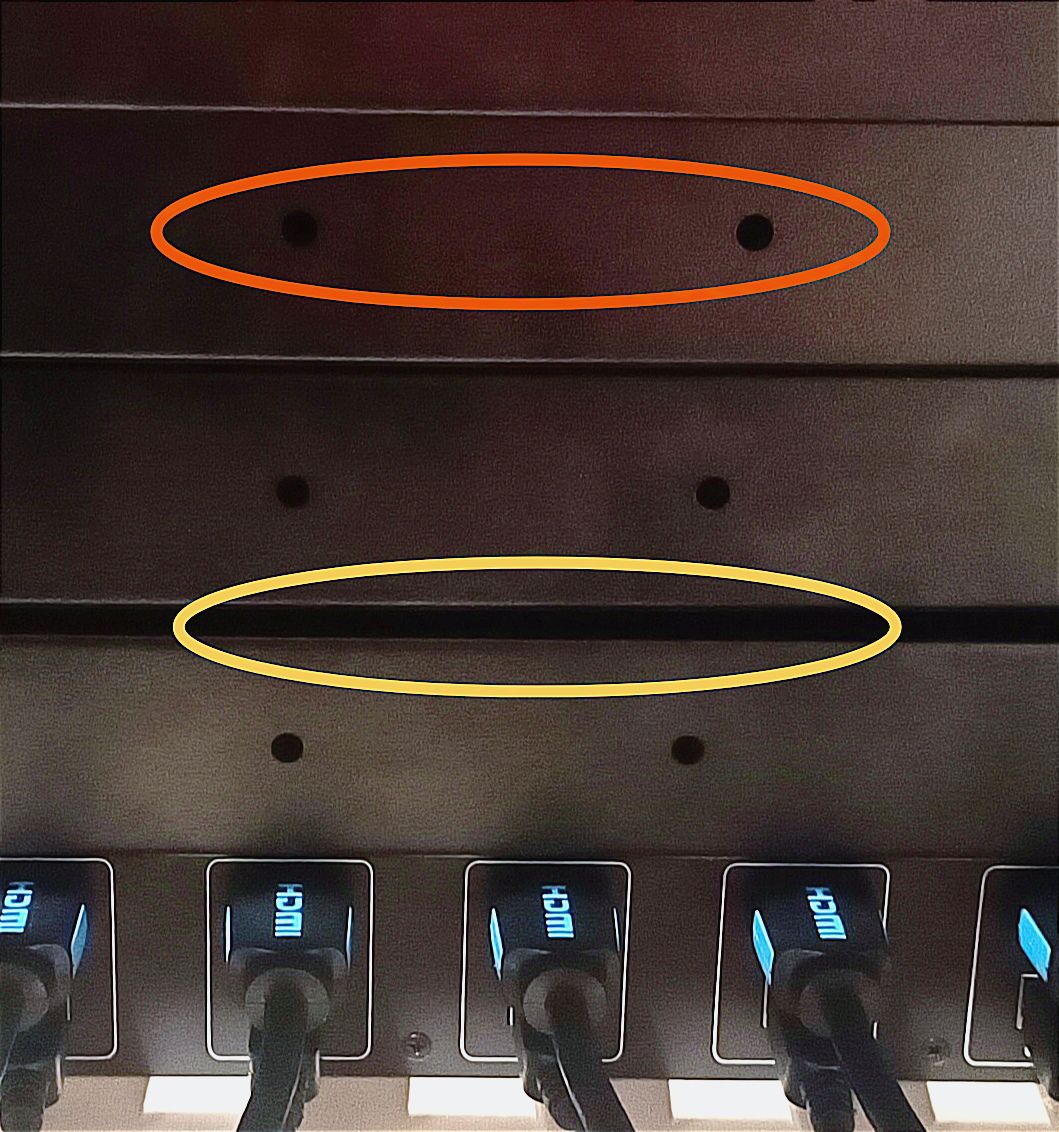
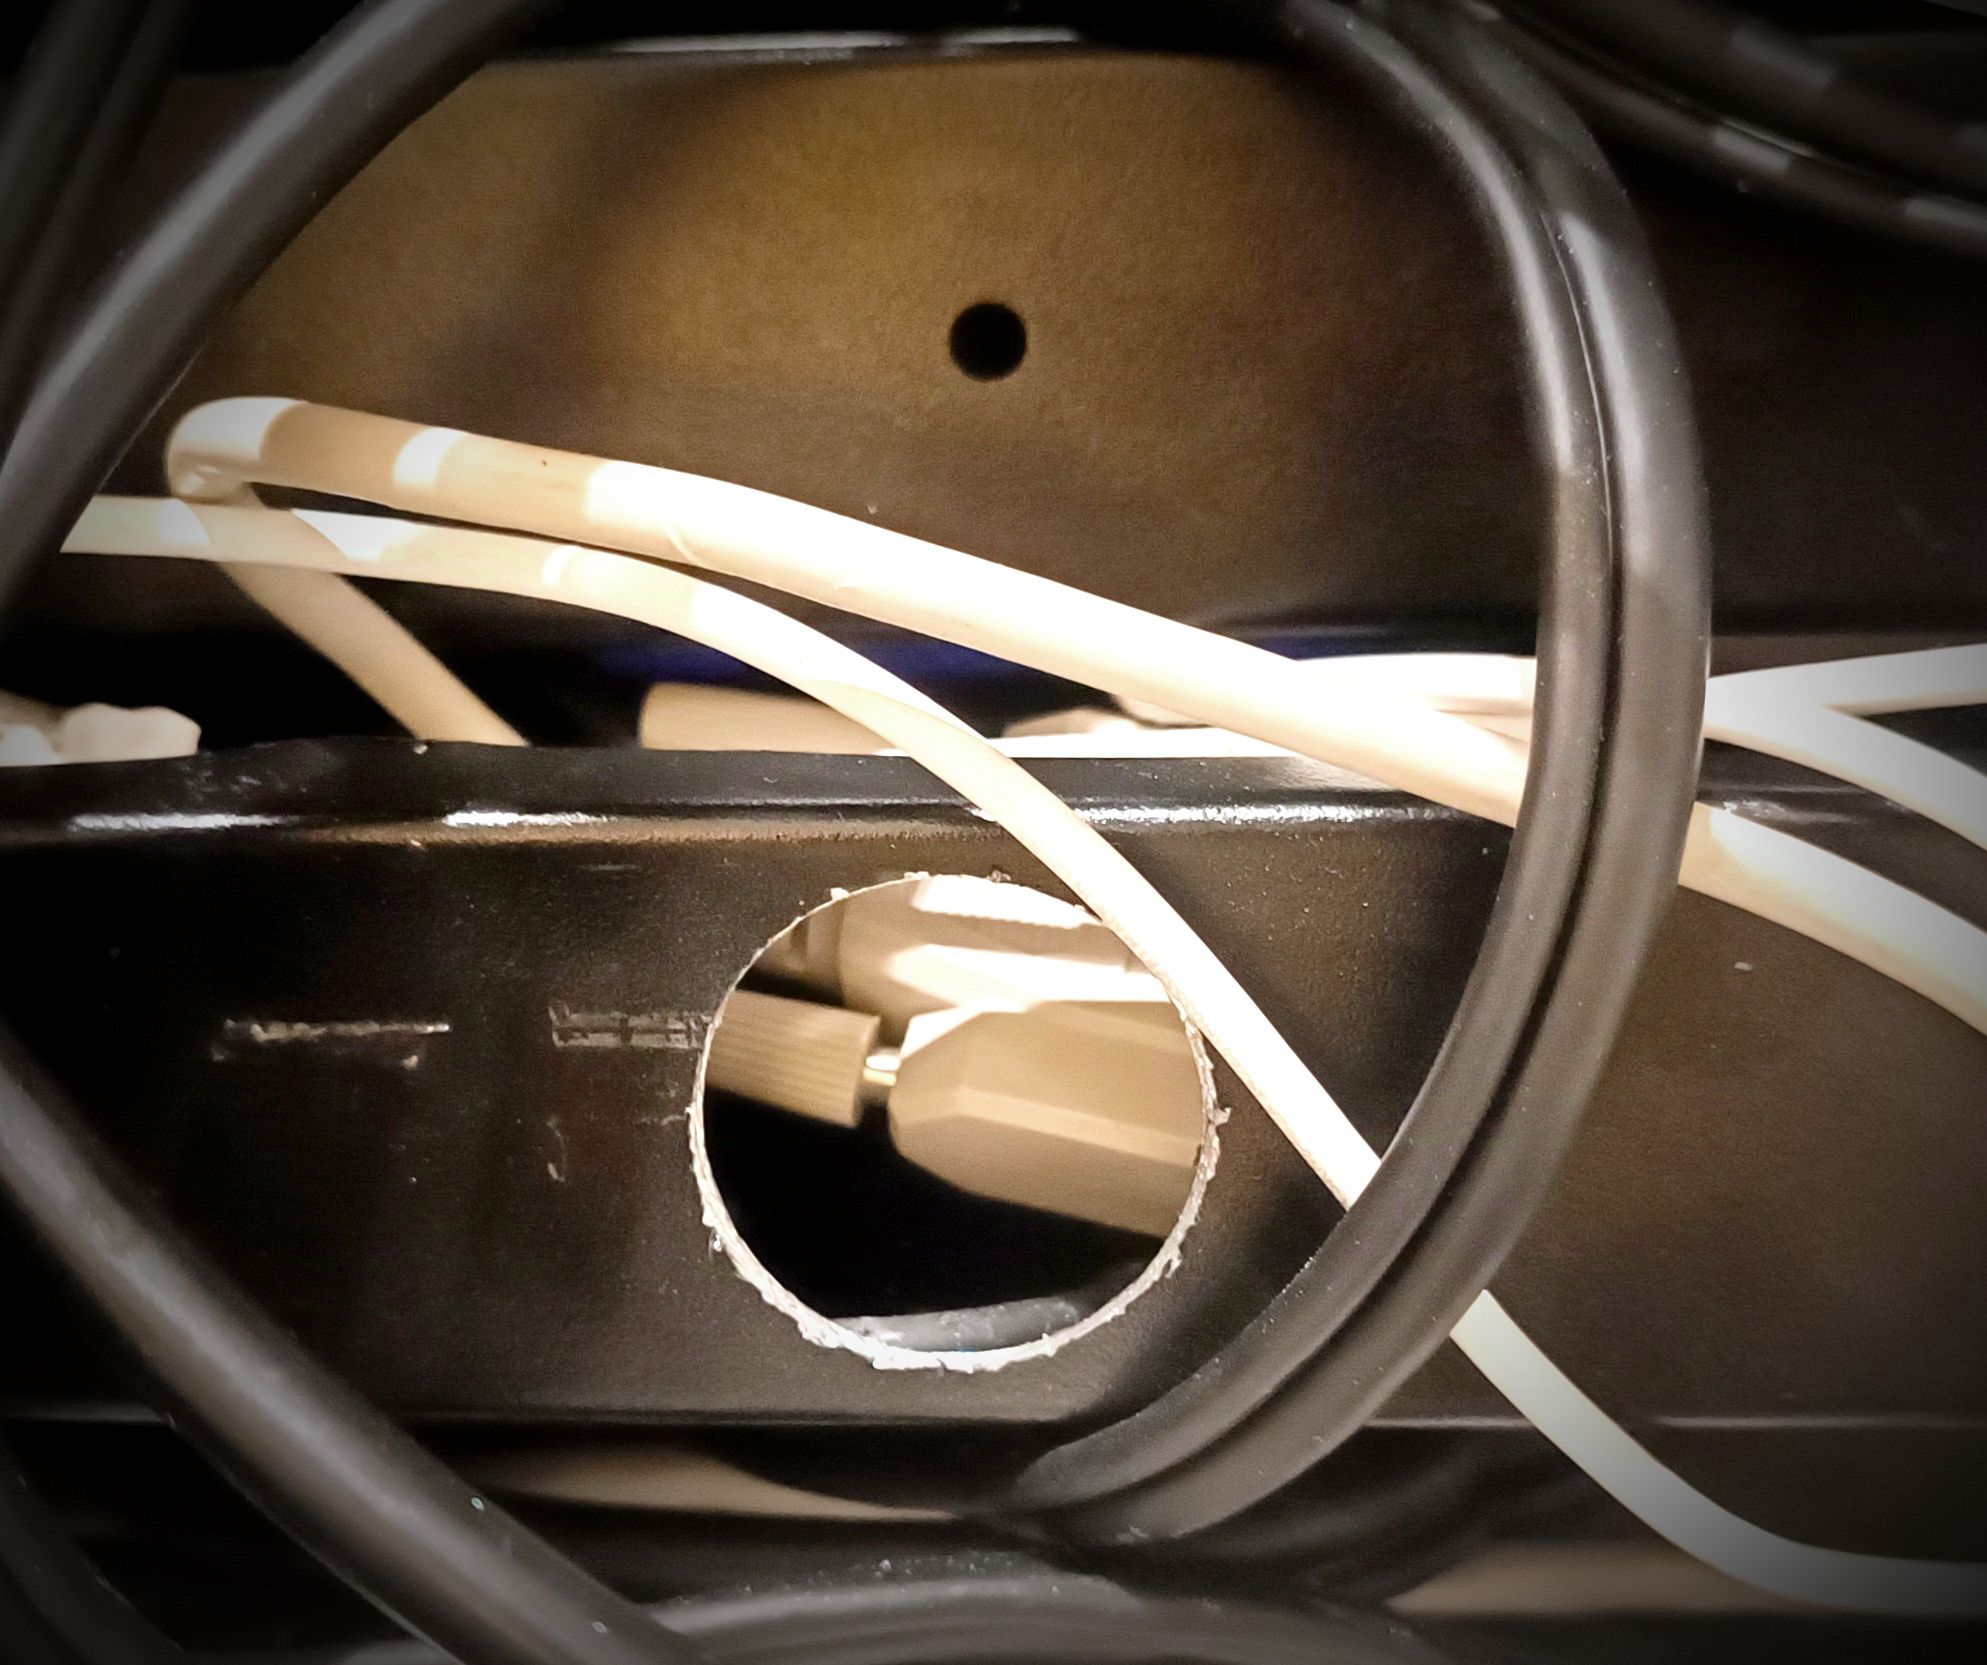
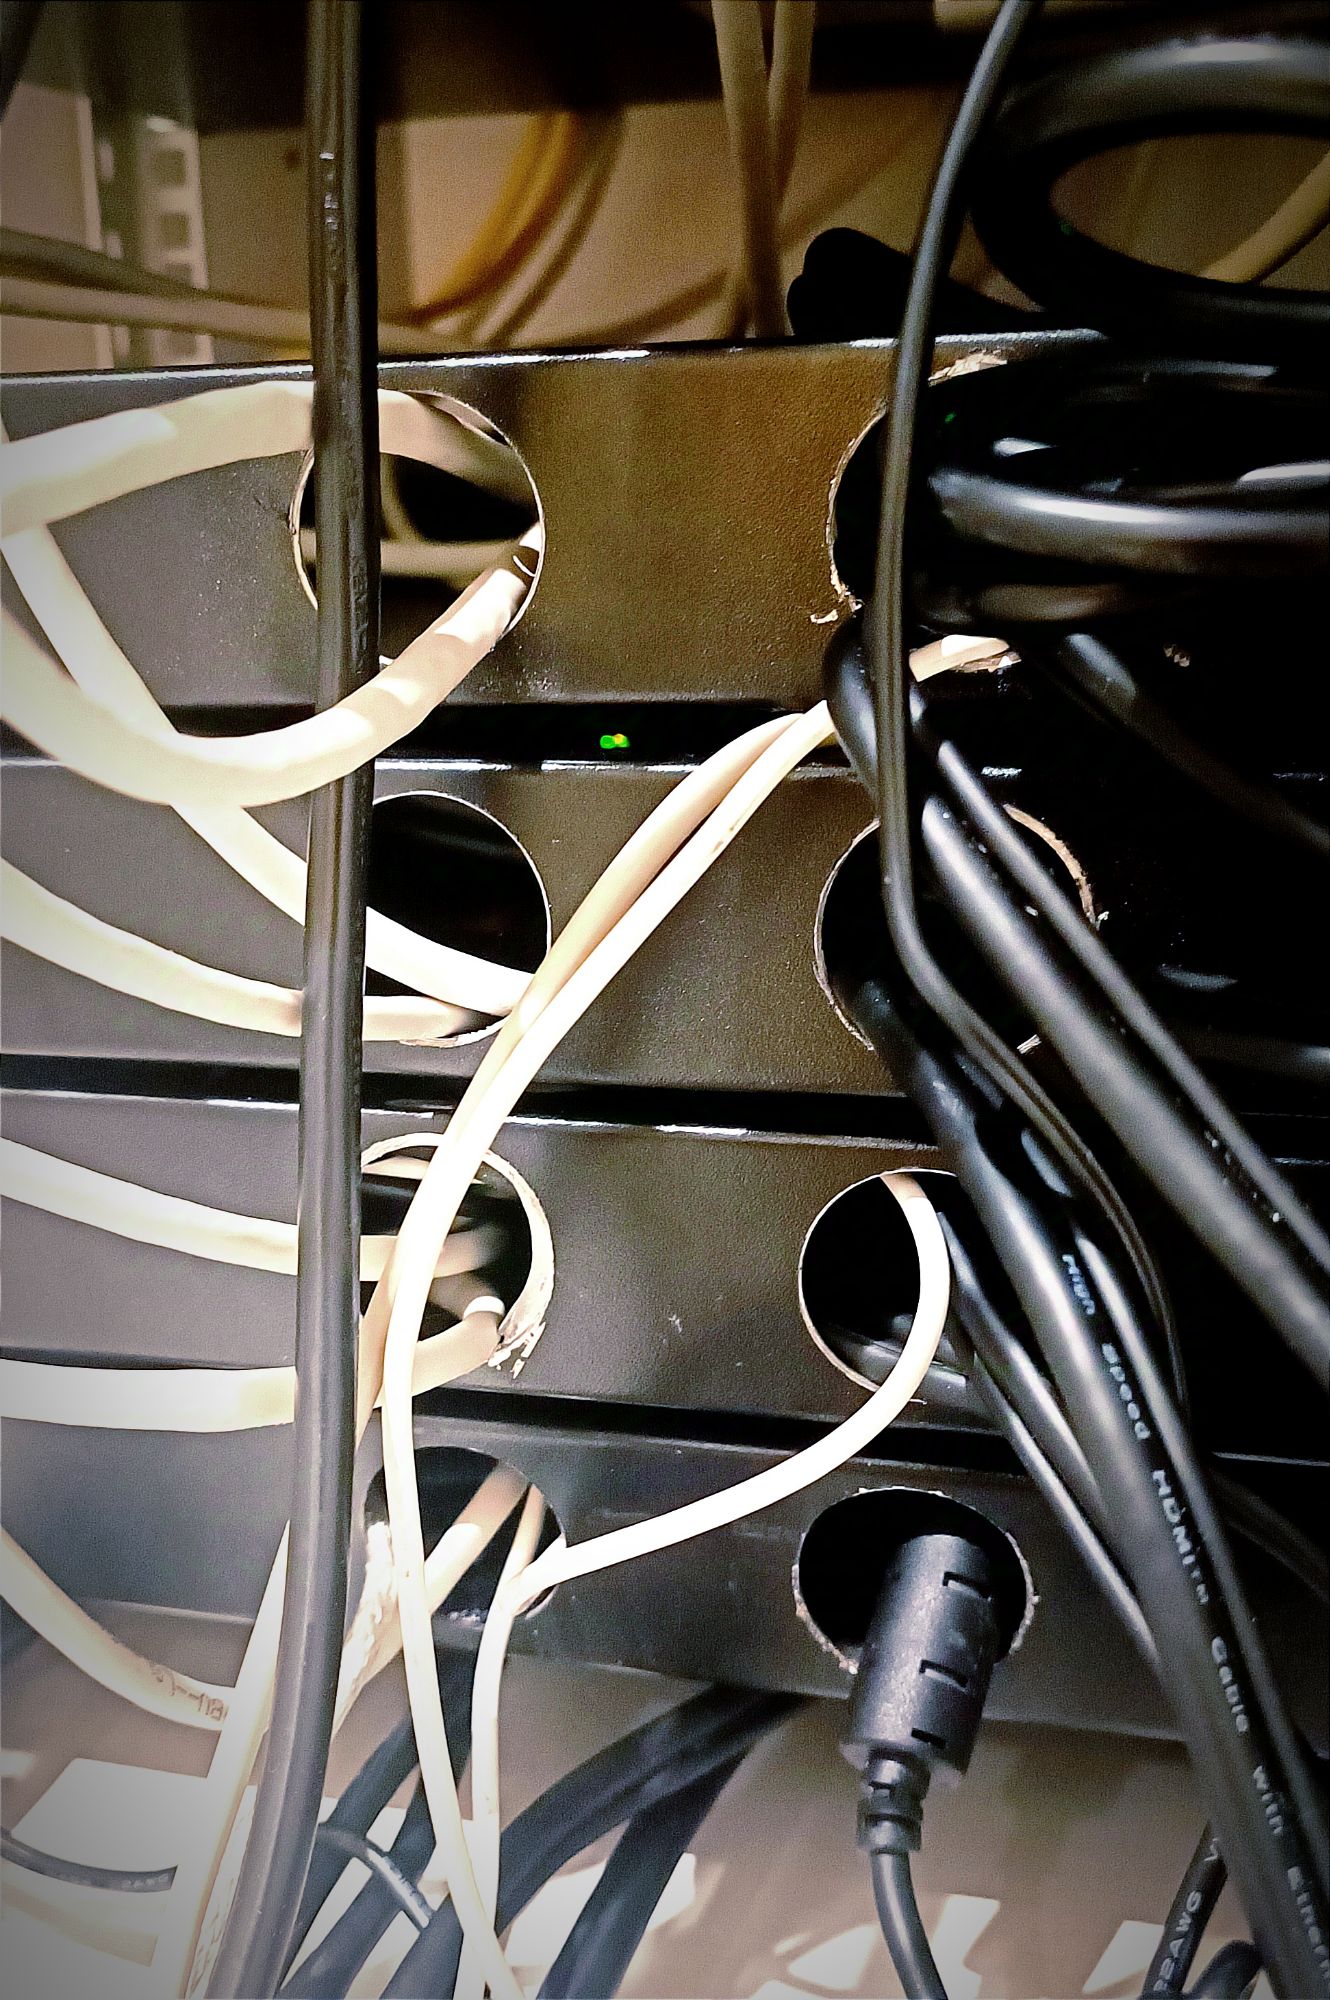
- The second problem is that the tray is completely closed off at the back. This makes it impossible to route cables through the rear. To address this, I had to drill holes using a metal hole saw. While the final result looks good, it was an extra step I hadn’t anticipated having to take.
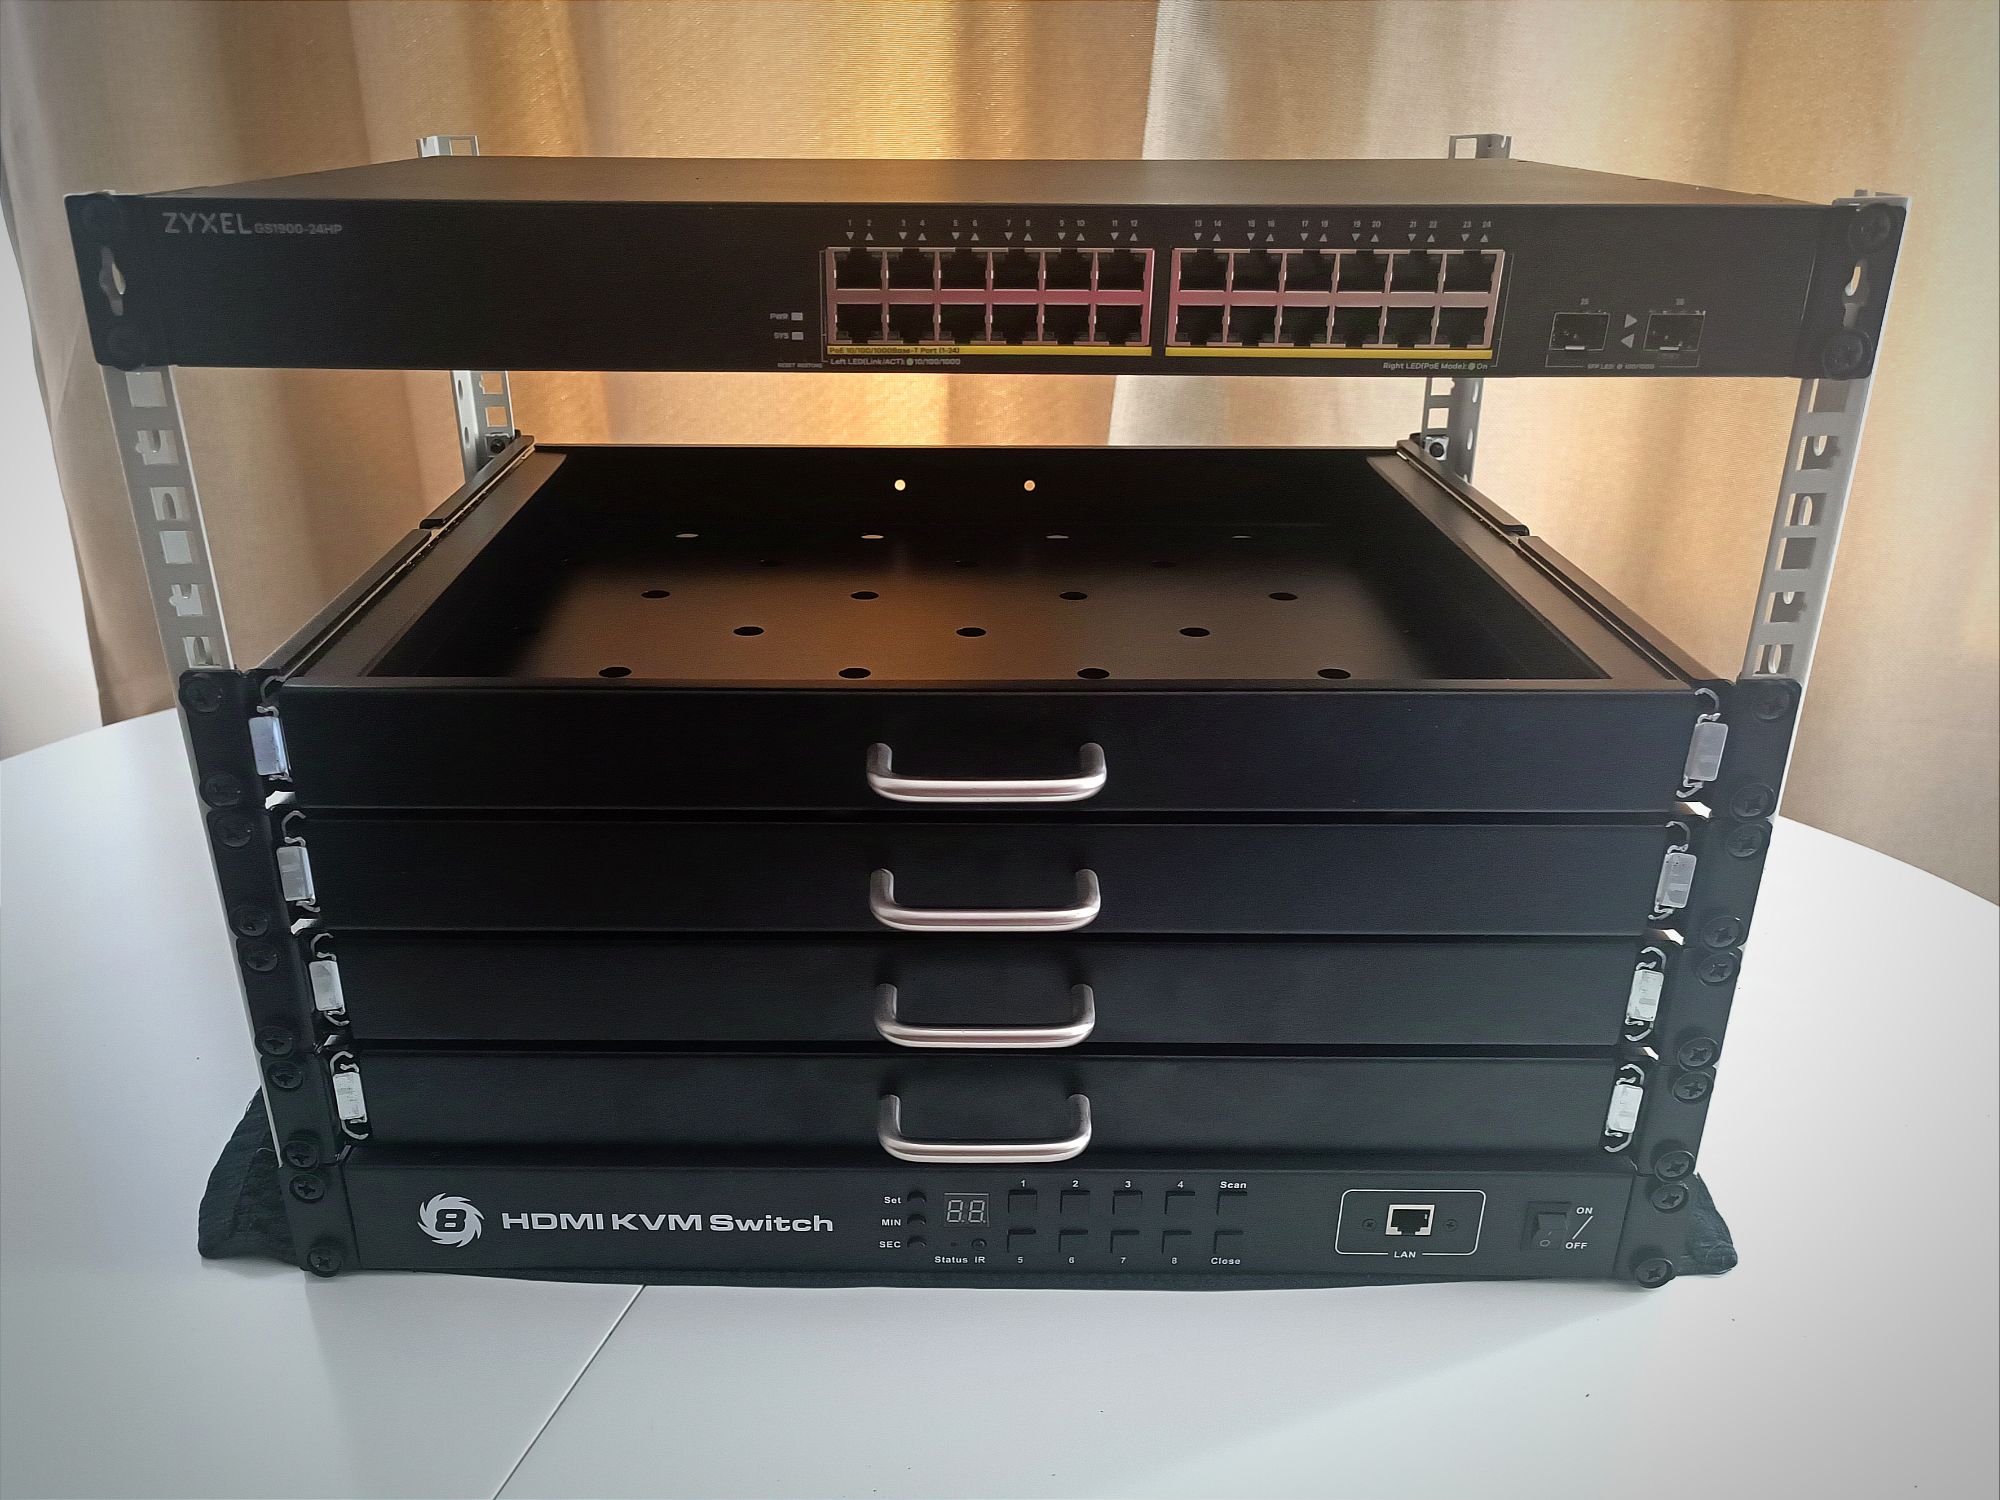
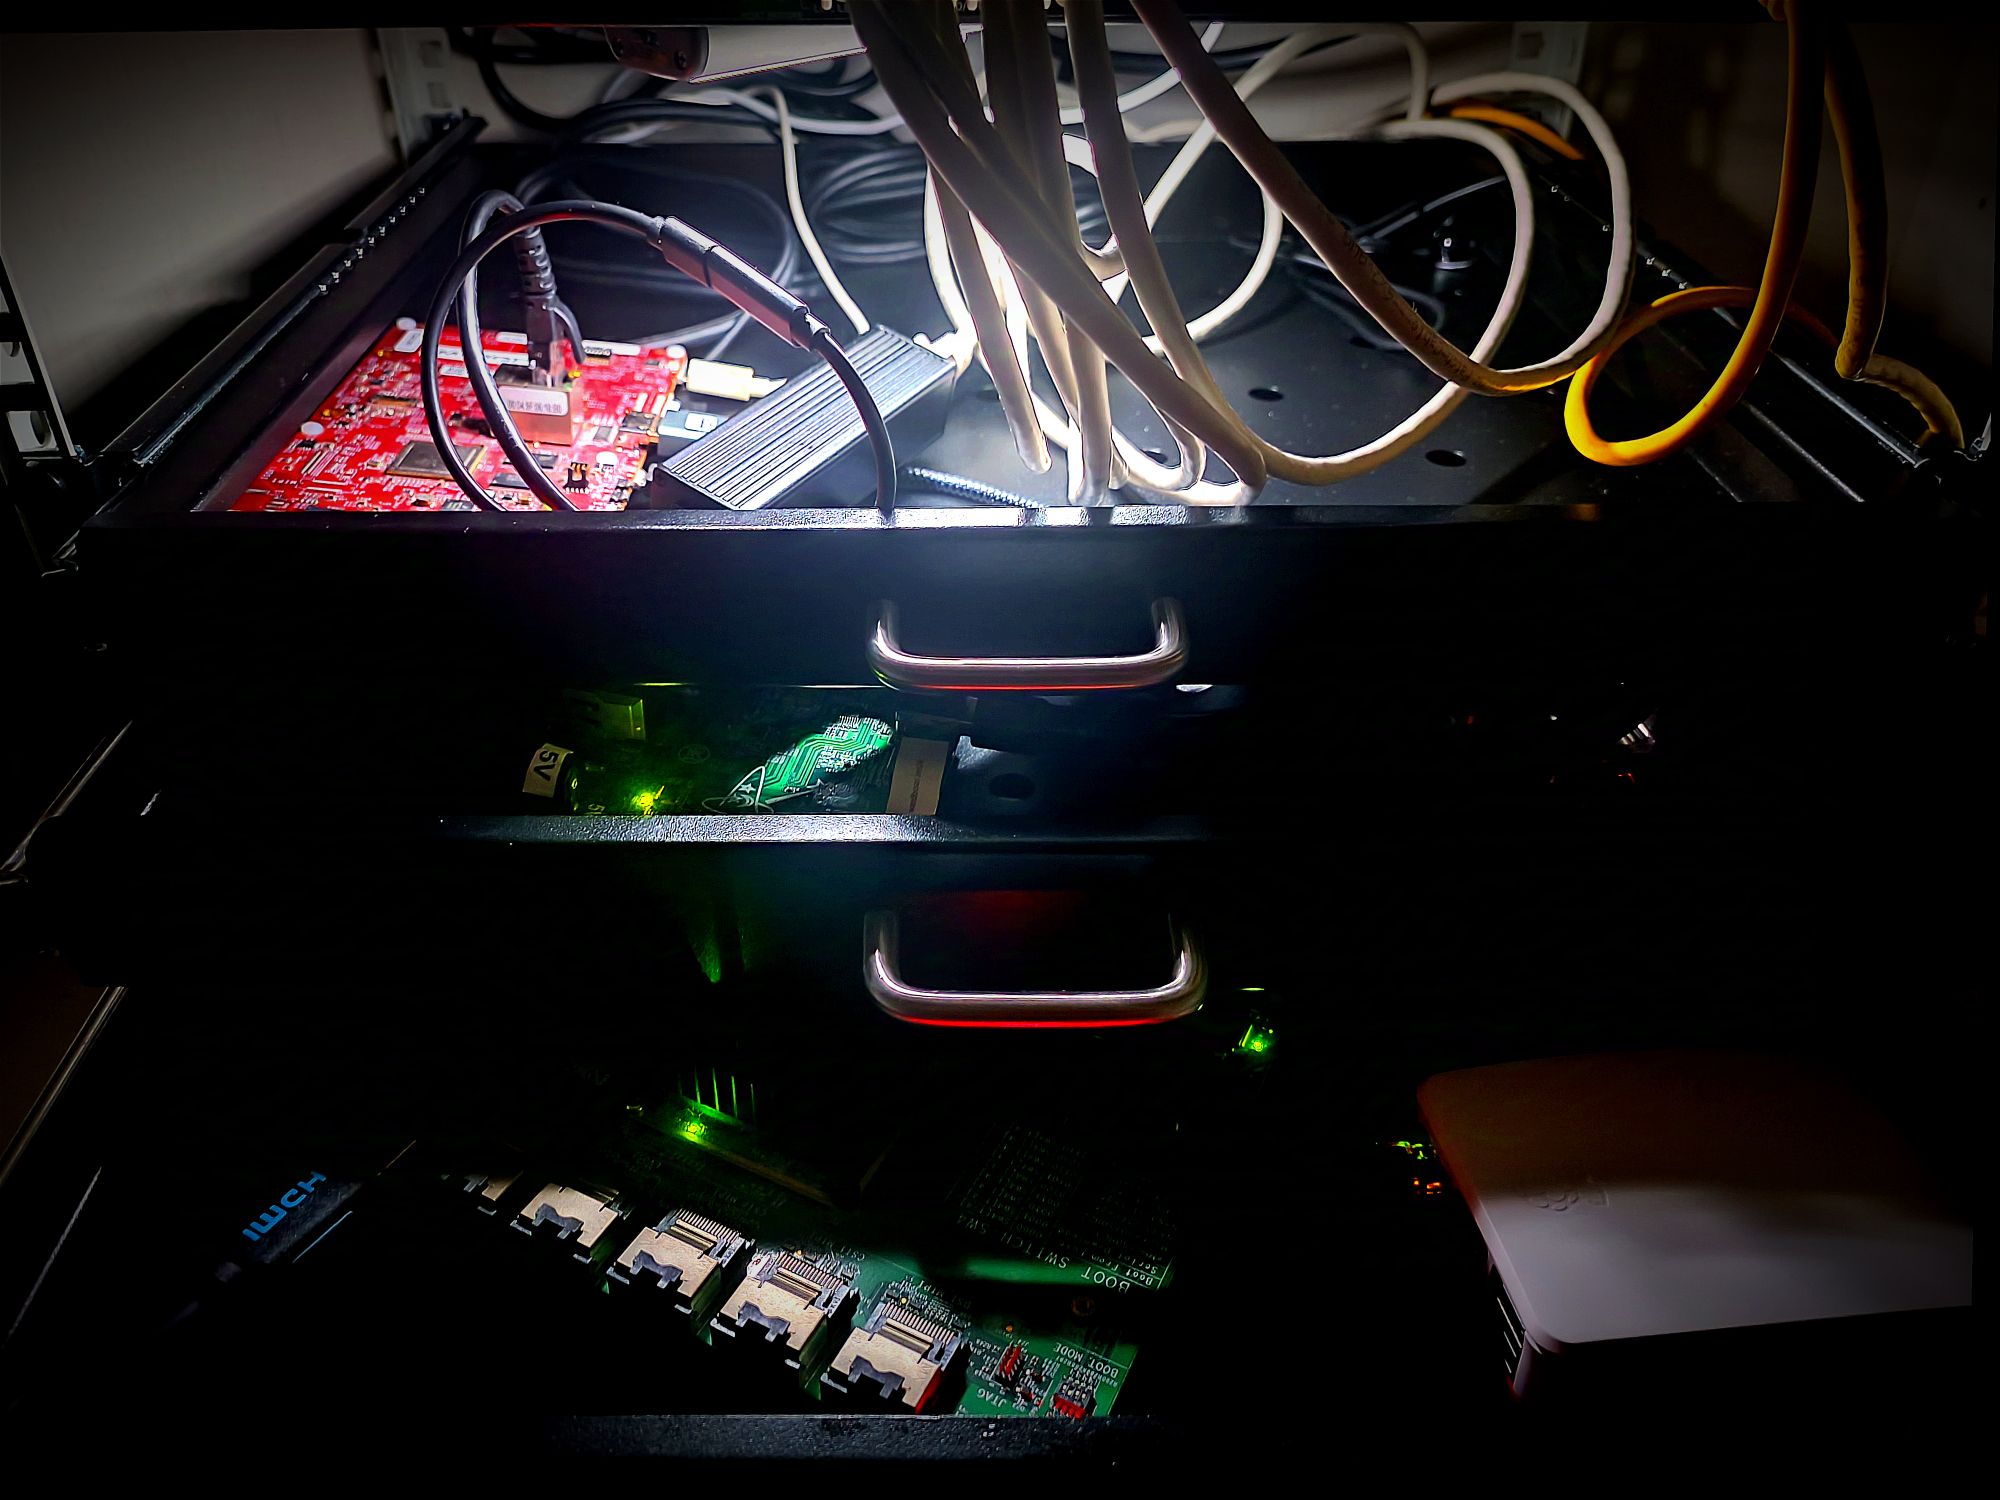
Assembly in the Final Location
Now that the frame is complete, we’re going to move it to its final location and start placing all the boards and computers inside. Let’s see how it’s shaping up!

Before and After
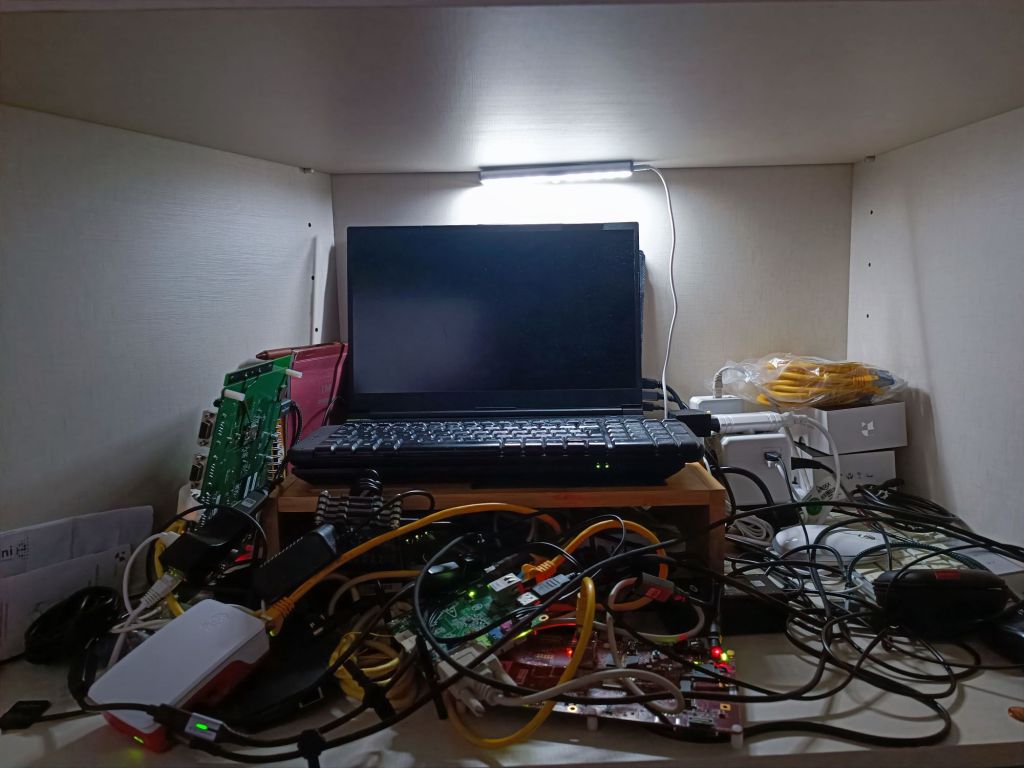

I’m really liking how it’s coming together. It’s a complete transformation from the previous state. The tangled mess of Ethernet cables has been replaced by a metal cabinet that’s much more organized and better distributed. Plus, I now have all the necessary hardware infrastructure for fully remote management of all these mini-computers.
Now it’s just a matter of connecting the pieces. Stay tuned for future updates!


Leave a comment