-
Continue reading →: De raices y secretos
… recorro el camino que la noche protege, Cuando ya nadie penetra con ojos y báculos … Mi padre miró a alguien Y abrazó a la palmera, Yo miré a mi padre y también hurgué en ella. … Mi hijo no me vio y alguien subió con él, porque oculté celoso…
-
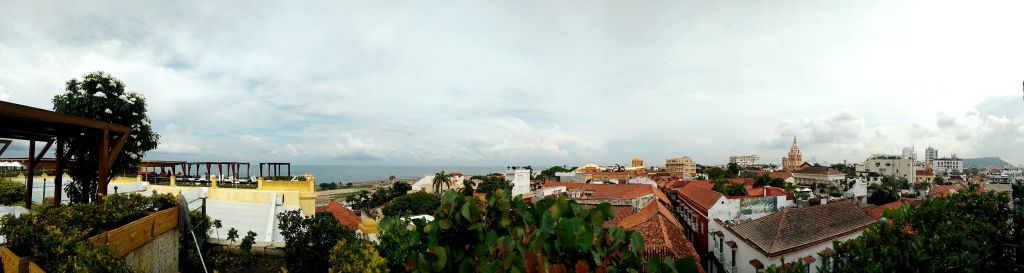 Continue reading →: Cartagena de Indias – 10°25′25″N 75°31′31″O
Calamari que en el lenguaje indígena significaba cangrejo y que Heredia y sus gentes españolizaron llamándole simplemente Calamar, era el nombre con que los nativos denominaban una aldea situada en el último repliegue de la bahía de Cartagena hacia el norte. Pueblo pajizo con techos que casi llegaban a tierra,…
-
 Continue reading →: Building Chromium in MacOS with a Linux icecc cluster
Many times, during these last months, I thought to keep updated my blog writing a new post. Unfortunately, for one or another reason I always found an excuse to not do so. Well, I think that time is over because finally I found something useful and worthy the time spent…
-
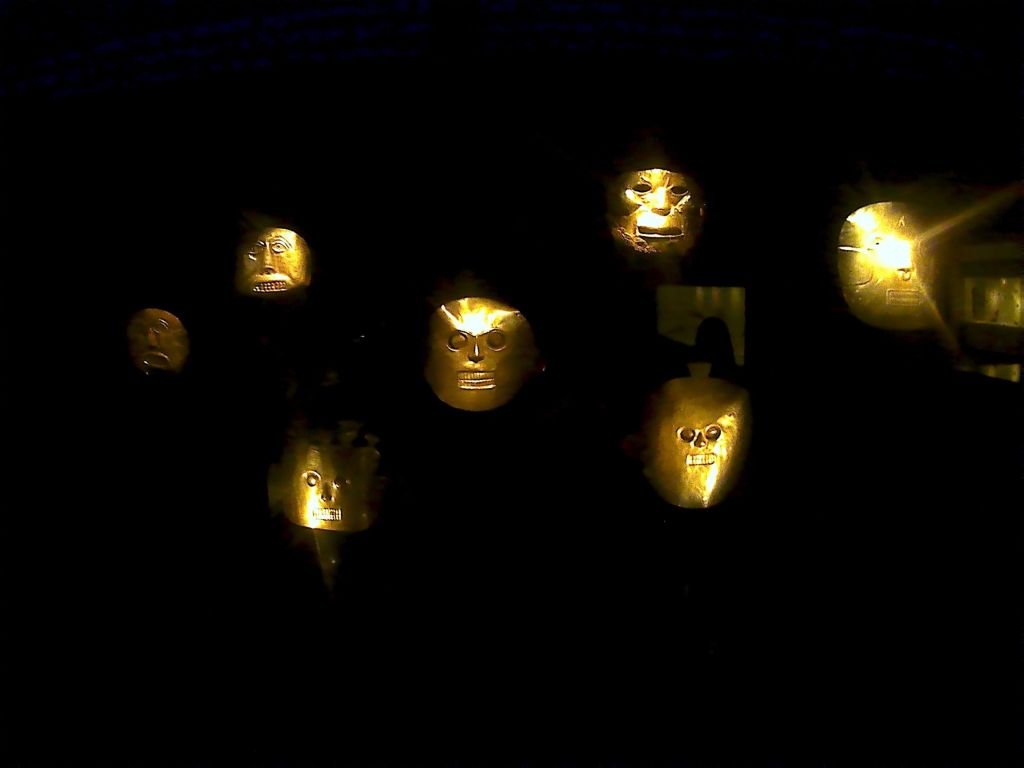 Continue reading →: Oro
…En aquella laguna de Guatavita se hacía una gran balsa de juncos, y aderezábanla lo más vistoso que podían… A este tiempo estaba toda la laguna coronada de indios y encendida por toda la circunferencia, los indios e indias todos coronados de oro, plumas y chagualas… Desnudaban al heredero (…)…
-
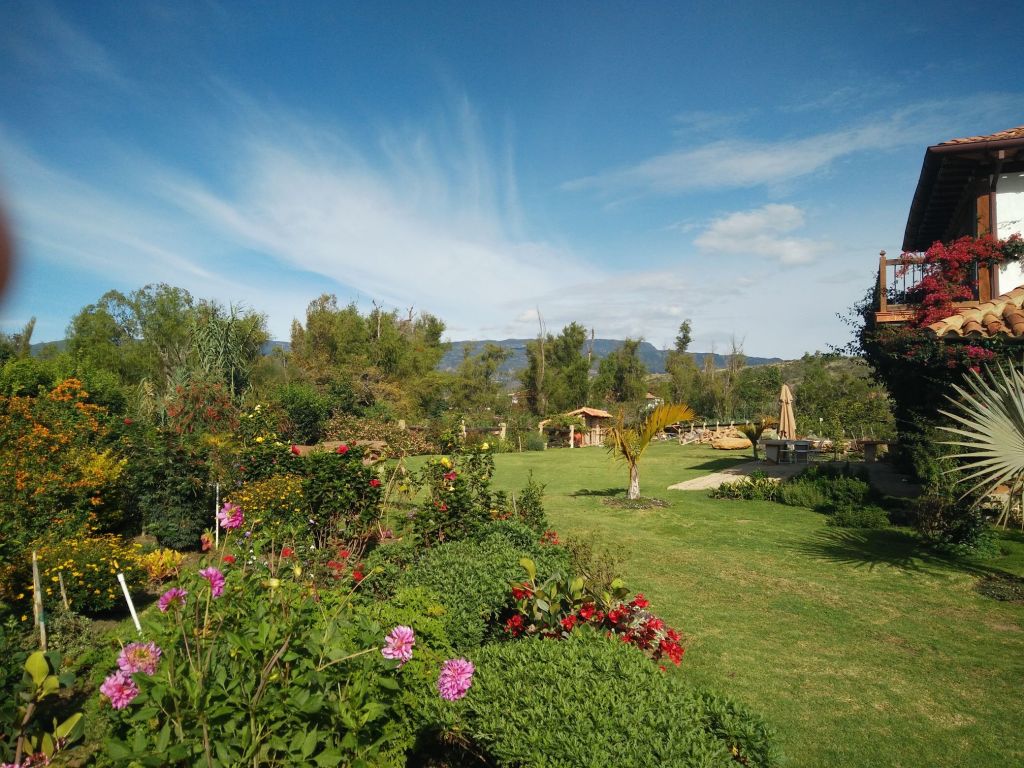 Continue reading →: Villa de Leyva en el valle de Zaquencipá – 5°37′59″N 73°31′32″O
15 de Outubro do 2016, estamos en Villa de Leyva, descrita así por Héctor José Corredor Cuervo: Señorial ciudad de singular fortuna tachonada con hitos de noble historia. Por tus calles reducidas y empedradas transitó con gran pasión la libertad. En hermosos huertos de tu árido suelo crecen los olivos con…
-
 Continue reading →: Bogotá… llévame en tu bicicleta
Fotografías tomadas a cicloturistas en distintas localizaciones de la ciudad de Bogotá durante mi breve estancia del pasado mes de Octubre. “A mí manera, descomplicado En una bici que me lleva a todos lados”

Hello,
:-)
I’m Pablo Saavedra, a former Unix systems administrator turned embedded software developer, now dedicated to squashing bugs and optimizing performance on embedded devices..
I’m degree in Computer Science by Universade da Coruña (Spain).
Of course, my hobbies are anything similar to computers, but also boxing, fitness, good beers, … You can follow me on twitter or my linkedin profile,


